Jay’s Diffusion Cloud Chamber
Author: Jay Howson
Date: April-2019
Quick Links
Intro
I was presented with the opportunity to run a lab for a non-profit organization called STEM-ing. Their objective is to get girls in grades 6-8 interested in the STEM fields during those critical years where they are trying to figure out what direction they want to go in in their lives. But not too late that they don’t have the chance to make changes to their path (hence geared towards middle school girls instead of high school girls)
I wrote proposals for 2 labs, one centered around electricity and one around radiation. The Radiation Lab was chosen. I was given a budget to purchase materials to build the lab, and I had several months of prep time.
Read more about STEM-ing here http://www.stem-ing.org/ .
The Goal
Sure kids can be interested in something when its shown to them, but they really light up when they get to have a hands on activity; to build something and do it themselves. Based on that, one of my goals for the lab was to have everyone or at least small groups build a cloud chamber. Not necessarily from scratch, but a some assembly required objective was not unreasonable.
I of course was told by several people that trying to get cloud chambers to work on a short time table was a terrible idea, due to the finicky nature of their operation. Definitely trying to get 10 of them to work simultaneously was going to be impossible. (I’m looking at you Tim) Of course Tim wasn’t wrong. There would certainly be challenges to overcome to meet my goal.
The design issues boiled down to 2 things
- Quick Startup
- Repeatability
What is a Cloud Chamber
A cloud chamber; is a device that uses the condensation of a vapor to view the paths of energetic particles emitted by radioactive processes.
The first cloud chamber was invented by Charles Wilson in 1911, it used a change is pressure to force water vapor to condensate. It was observed that when an ionizing particle traveled thru the chamber it left a path in the vapor which was easily observed with the eye.
Charles Wilson and Arthur Compton received the Nobel prize in 1927 for their work on this device.
In 1936 Alexander Langdorf expanded upon Wilson and Arthurs work making the first diffusion cloud chamber.
Cloud chambers were very important to early particle physics work. As it allows physicists to view events that would have otherwise been invincible to them, making countless discoveries.
How It works
The Diffusion cloud chamber utilizes a temperature gradient to evaporate alcohol on the warm side and condense it on the cold side. This is formed via dry ice and ambient or warmed air. As the cooling alcohol vapor falls, it forms a supersaturated layer just above the cold end. This supersaturated layer, when disturbed will condense into suspended droplets which are visible. An energetic particle will leave this condensation behind in its path, typically being illuminated by a tangential light source.
My Design
In order to mitigate the difficulties associated with traditional cloud chambers. I quickly discovered a few things
- The Dry ice needs to be in direct contact with the cold plate
- Generating maximum thermal transfer
- The warm end needed to be artificially warmed
- Which will help speed up the condensation process
- The alcohol needs to be absolutely free of water
- any water vapor quickly messes things up
- Needs to be safe for the kids
- Needs to be easy to assemble and disassemble
Base Unit
I decided to use a 3d printer to manufacture the base units
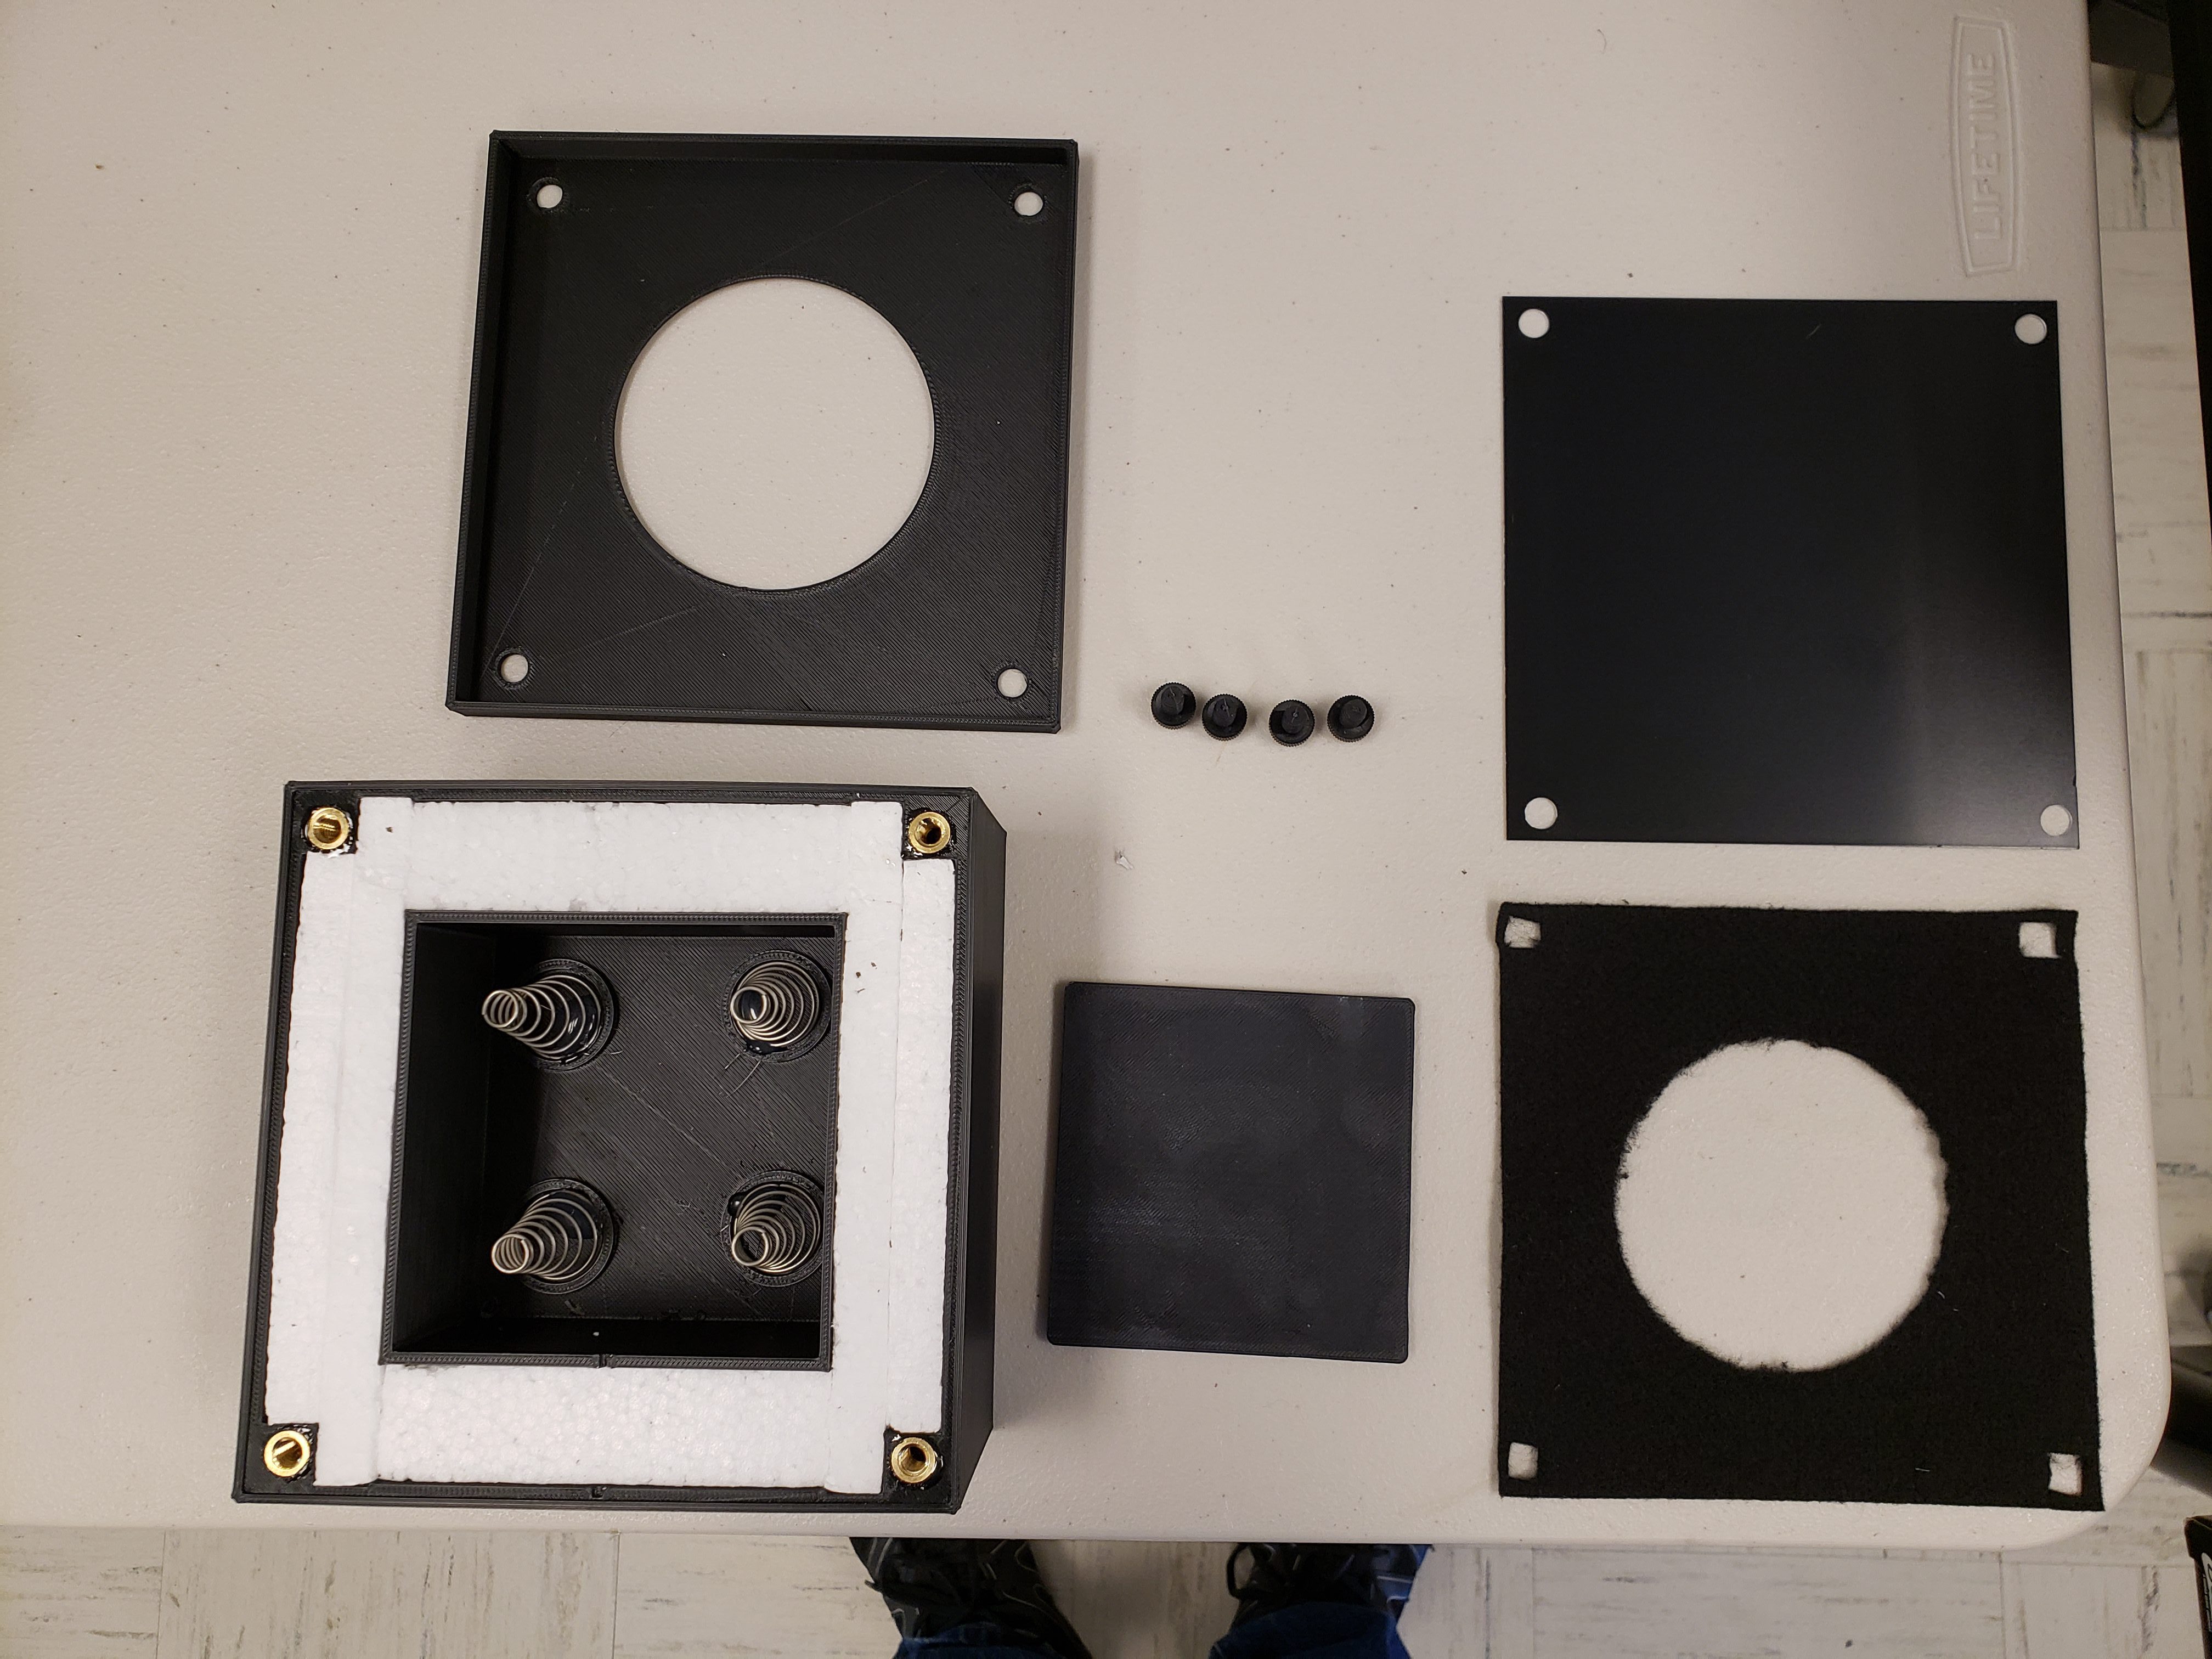
It consists of 2 concentric rectangular shells fitted with a styrofoam insulation layer between them. The outer shell offers mounting holes for the top plate. I ended up drilling these holes out, and epoxying in brass threads.
The inner shell contains raised retention rings for springs to mount. The springs hold a mobile plate on which the dry ice sits, and apply upward pressure to the metal top plate.
The springs are of the constant force variety. If you have never seen one it’s conical in nature, and provides a non-linear spring constant via a varying diameter. This has the effect of canceling out the increase in force with applied compression for a portion of its length. They are useful to us, as we want the force the dry ice makes onto the top plate to be constant. Otherwise it would be very hard to compress the initial thick dry ice against the top plate, and could lead to failure of the 3d printed part.
The top plate has 4 holes that align with the base unit. I chose a thin black anodized aluminium.
A precut peice of felt serves as the gasket around our chamber
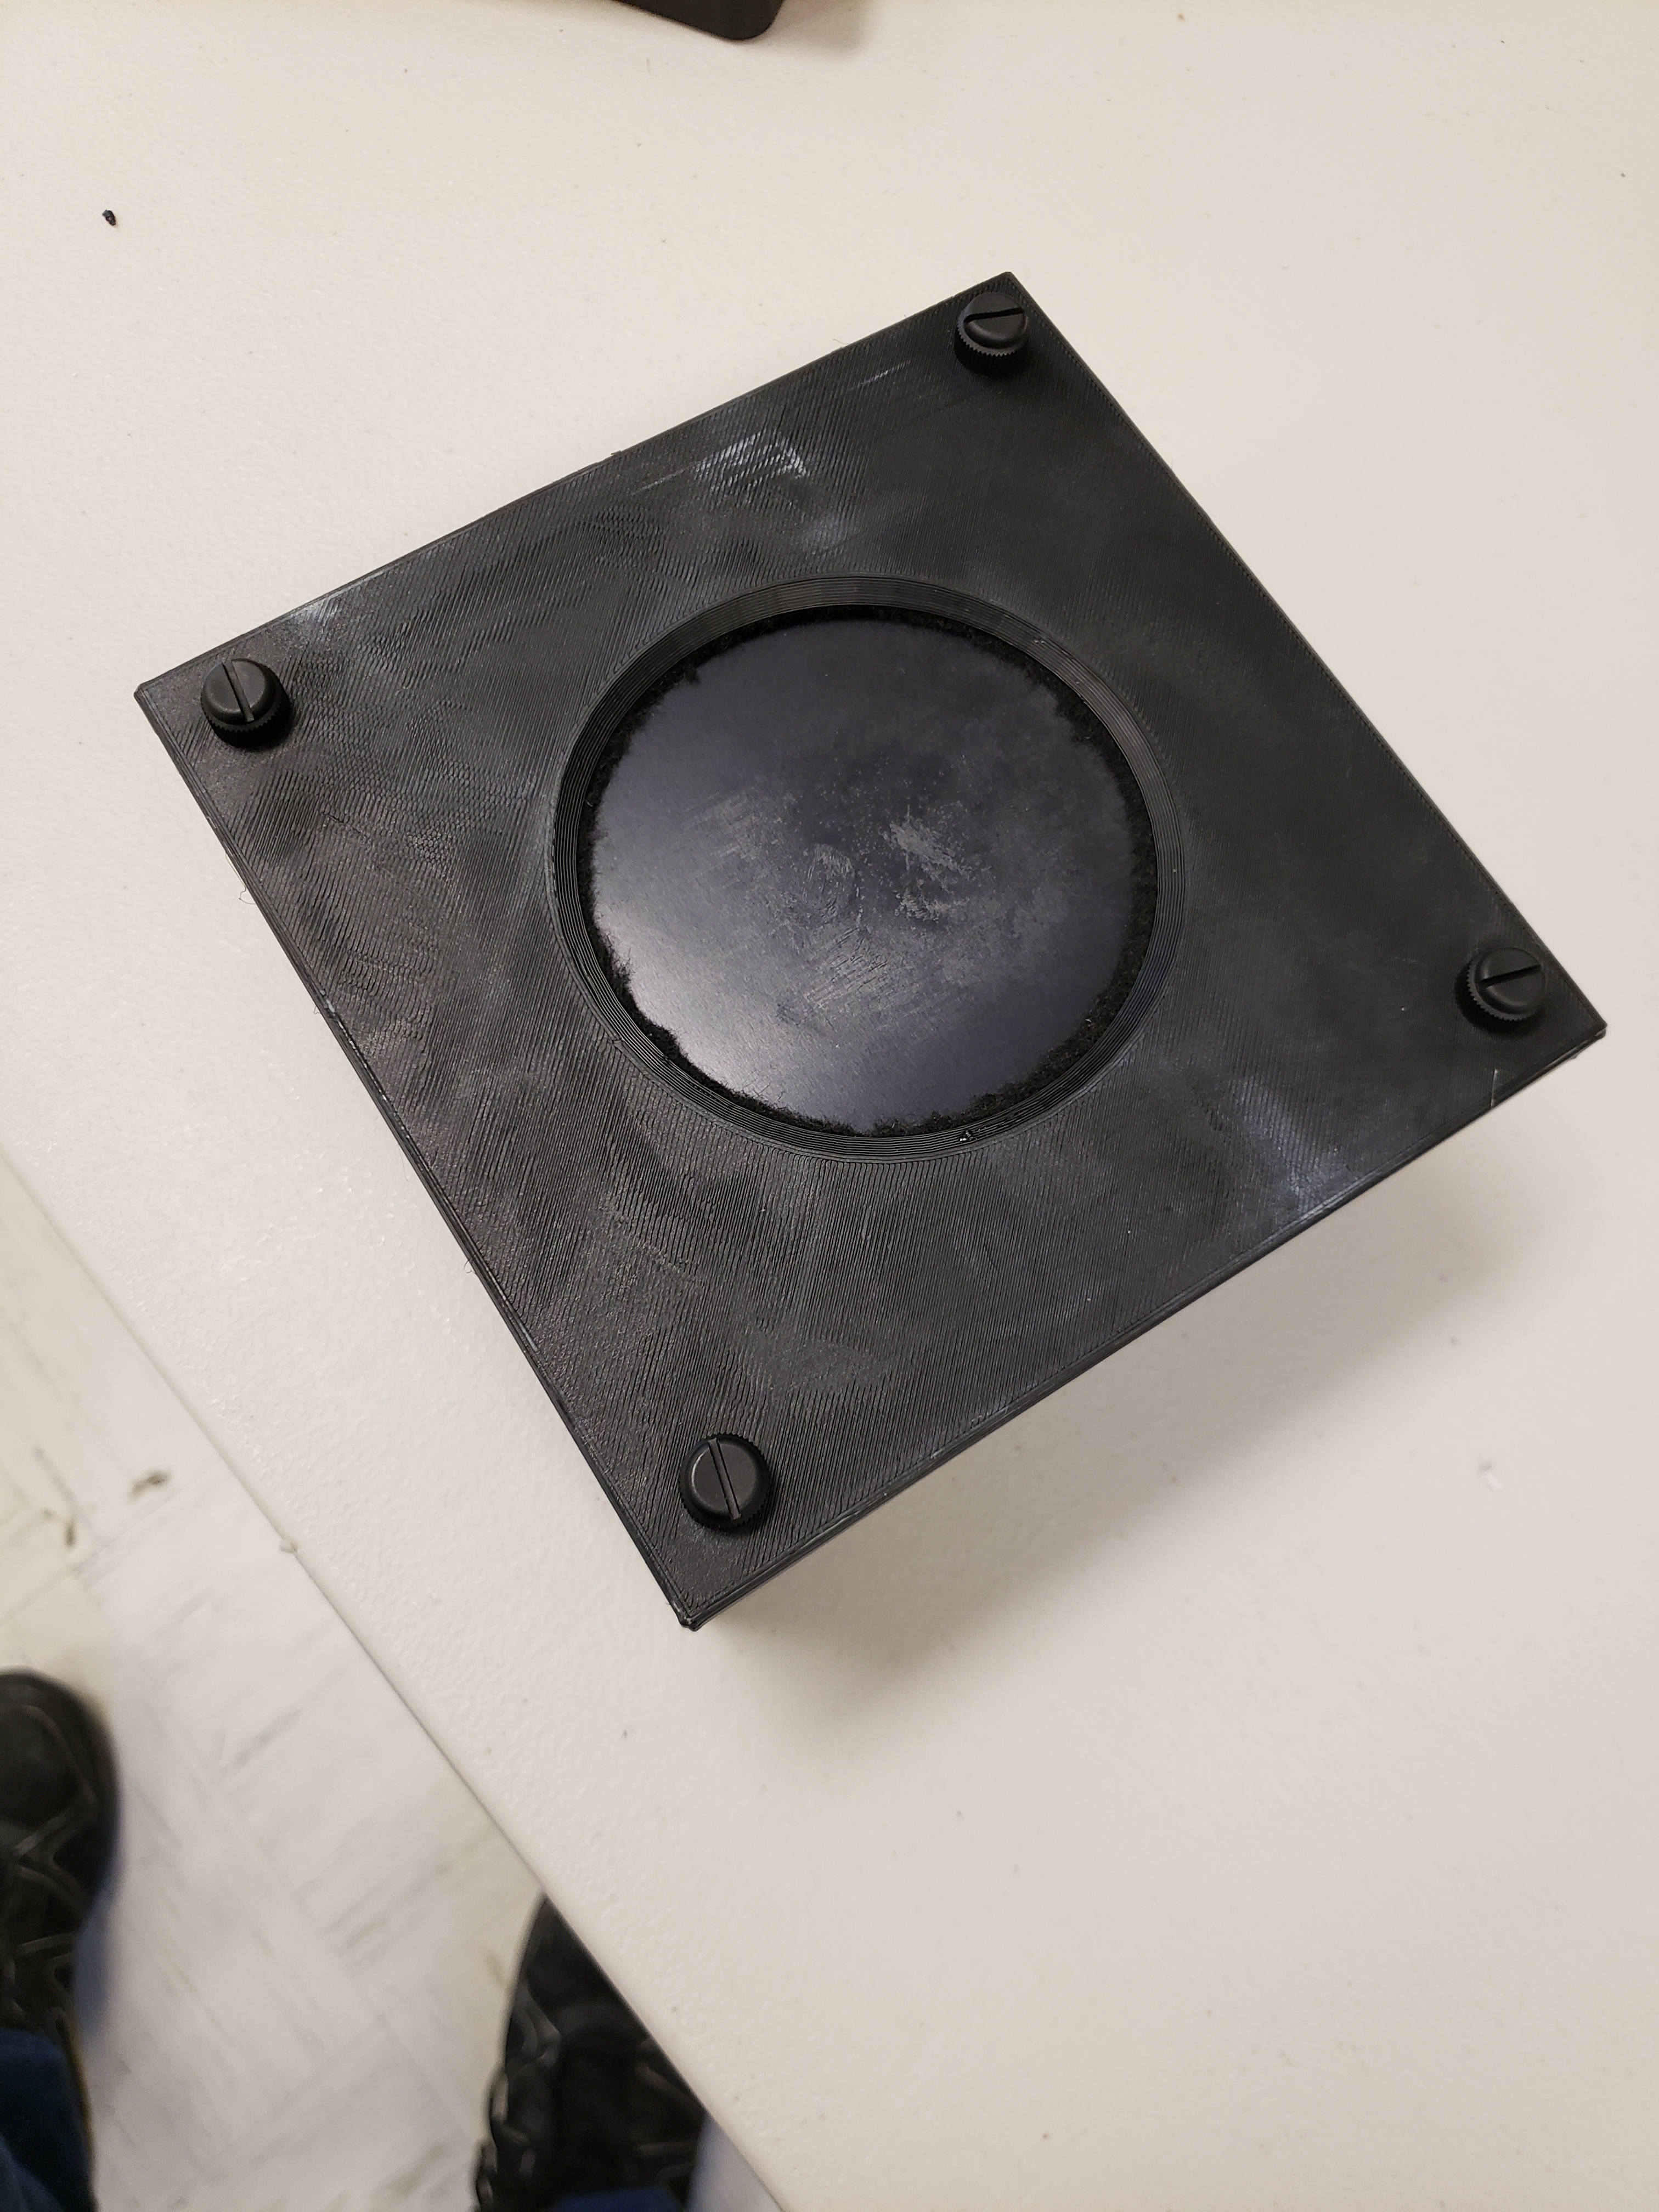
The felt and top plate are capped with 3d printed lid, which aids in maintaining structural integrity with the dry ice’s upward pressure and helps hold the felt in place. Plastic thumbscrews hold the lid and plate onto the base.
Diffusion Chamber
- The diffusion chamber needs to be optically clear
- Give me the ability to mount an alcohol source
- Heat the alcohol source above ambient temp
- withstand the chemical attack from the alcohol itself
I ended up using fancy polystyrene party cups
- I can buy 100 of them for 9 bucks
- Polystyrene Chemical Stability is rated as “good” in reference to Isopropyl Alcohol
- They are extremely optically clear
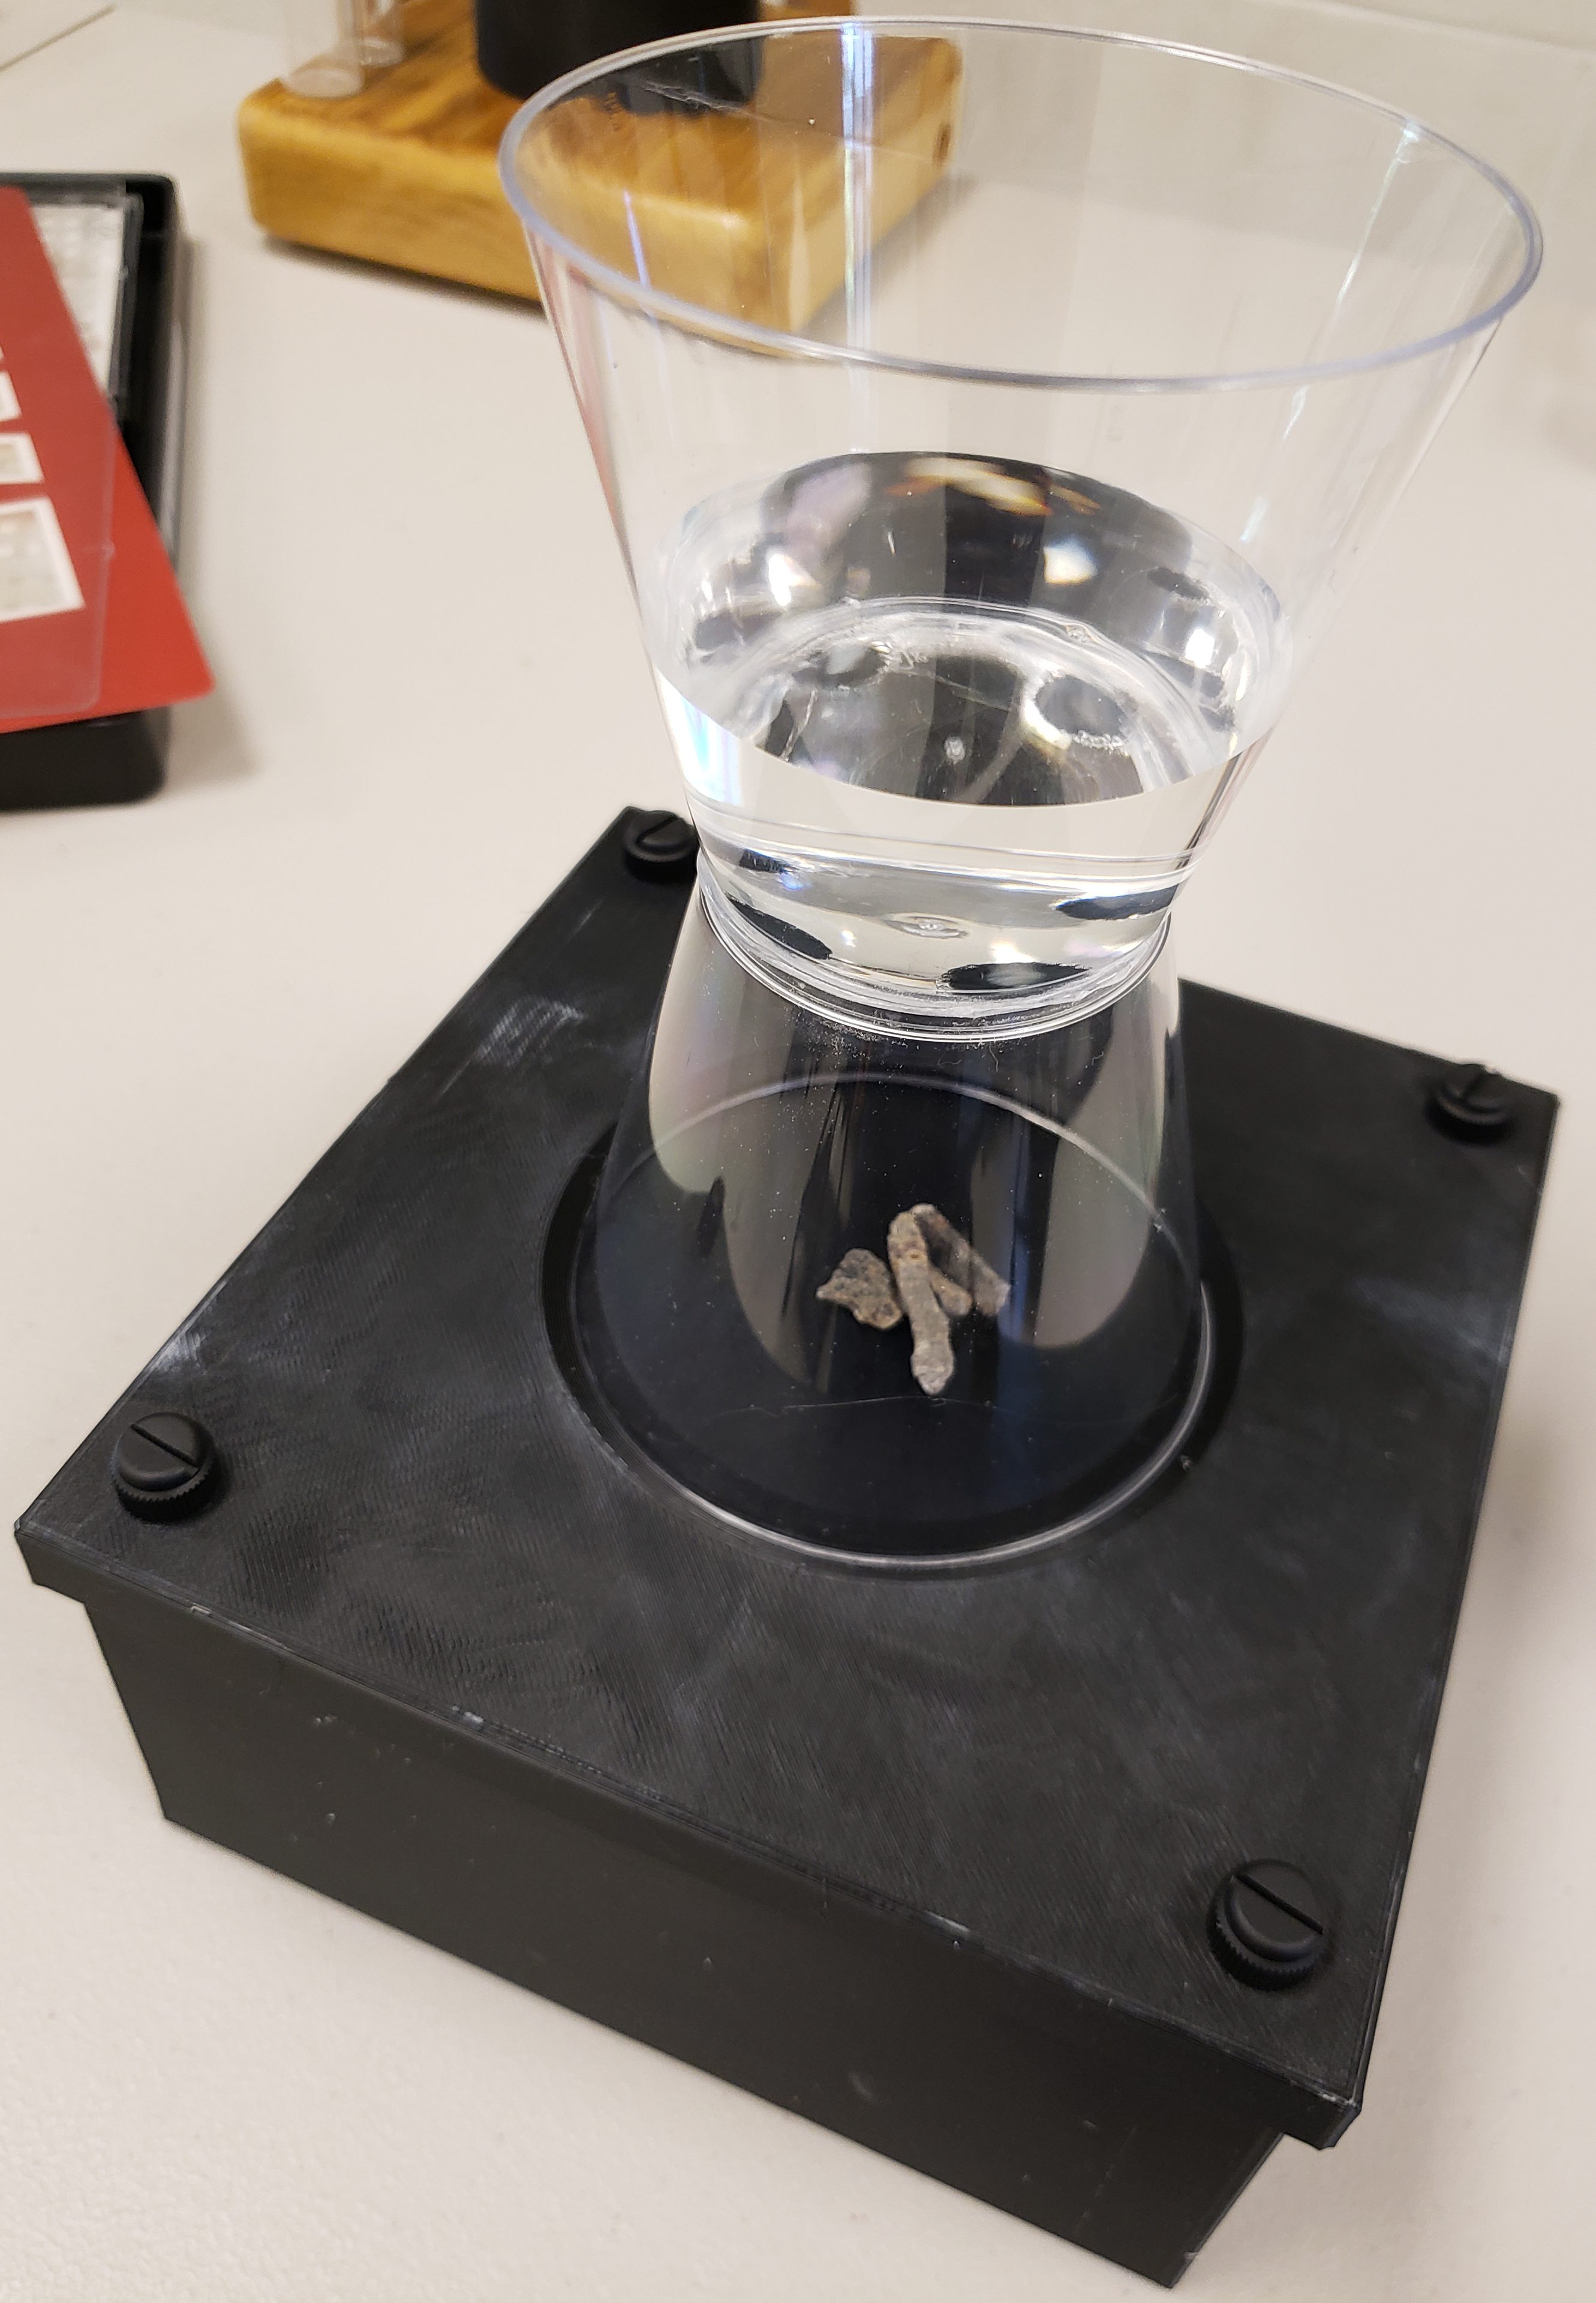
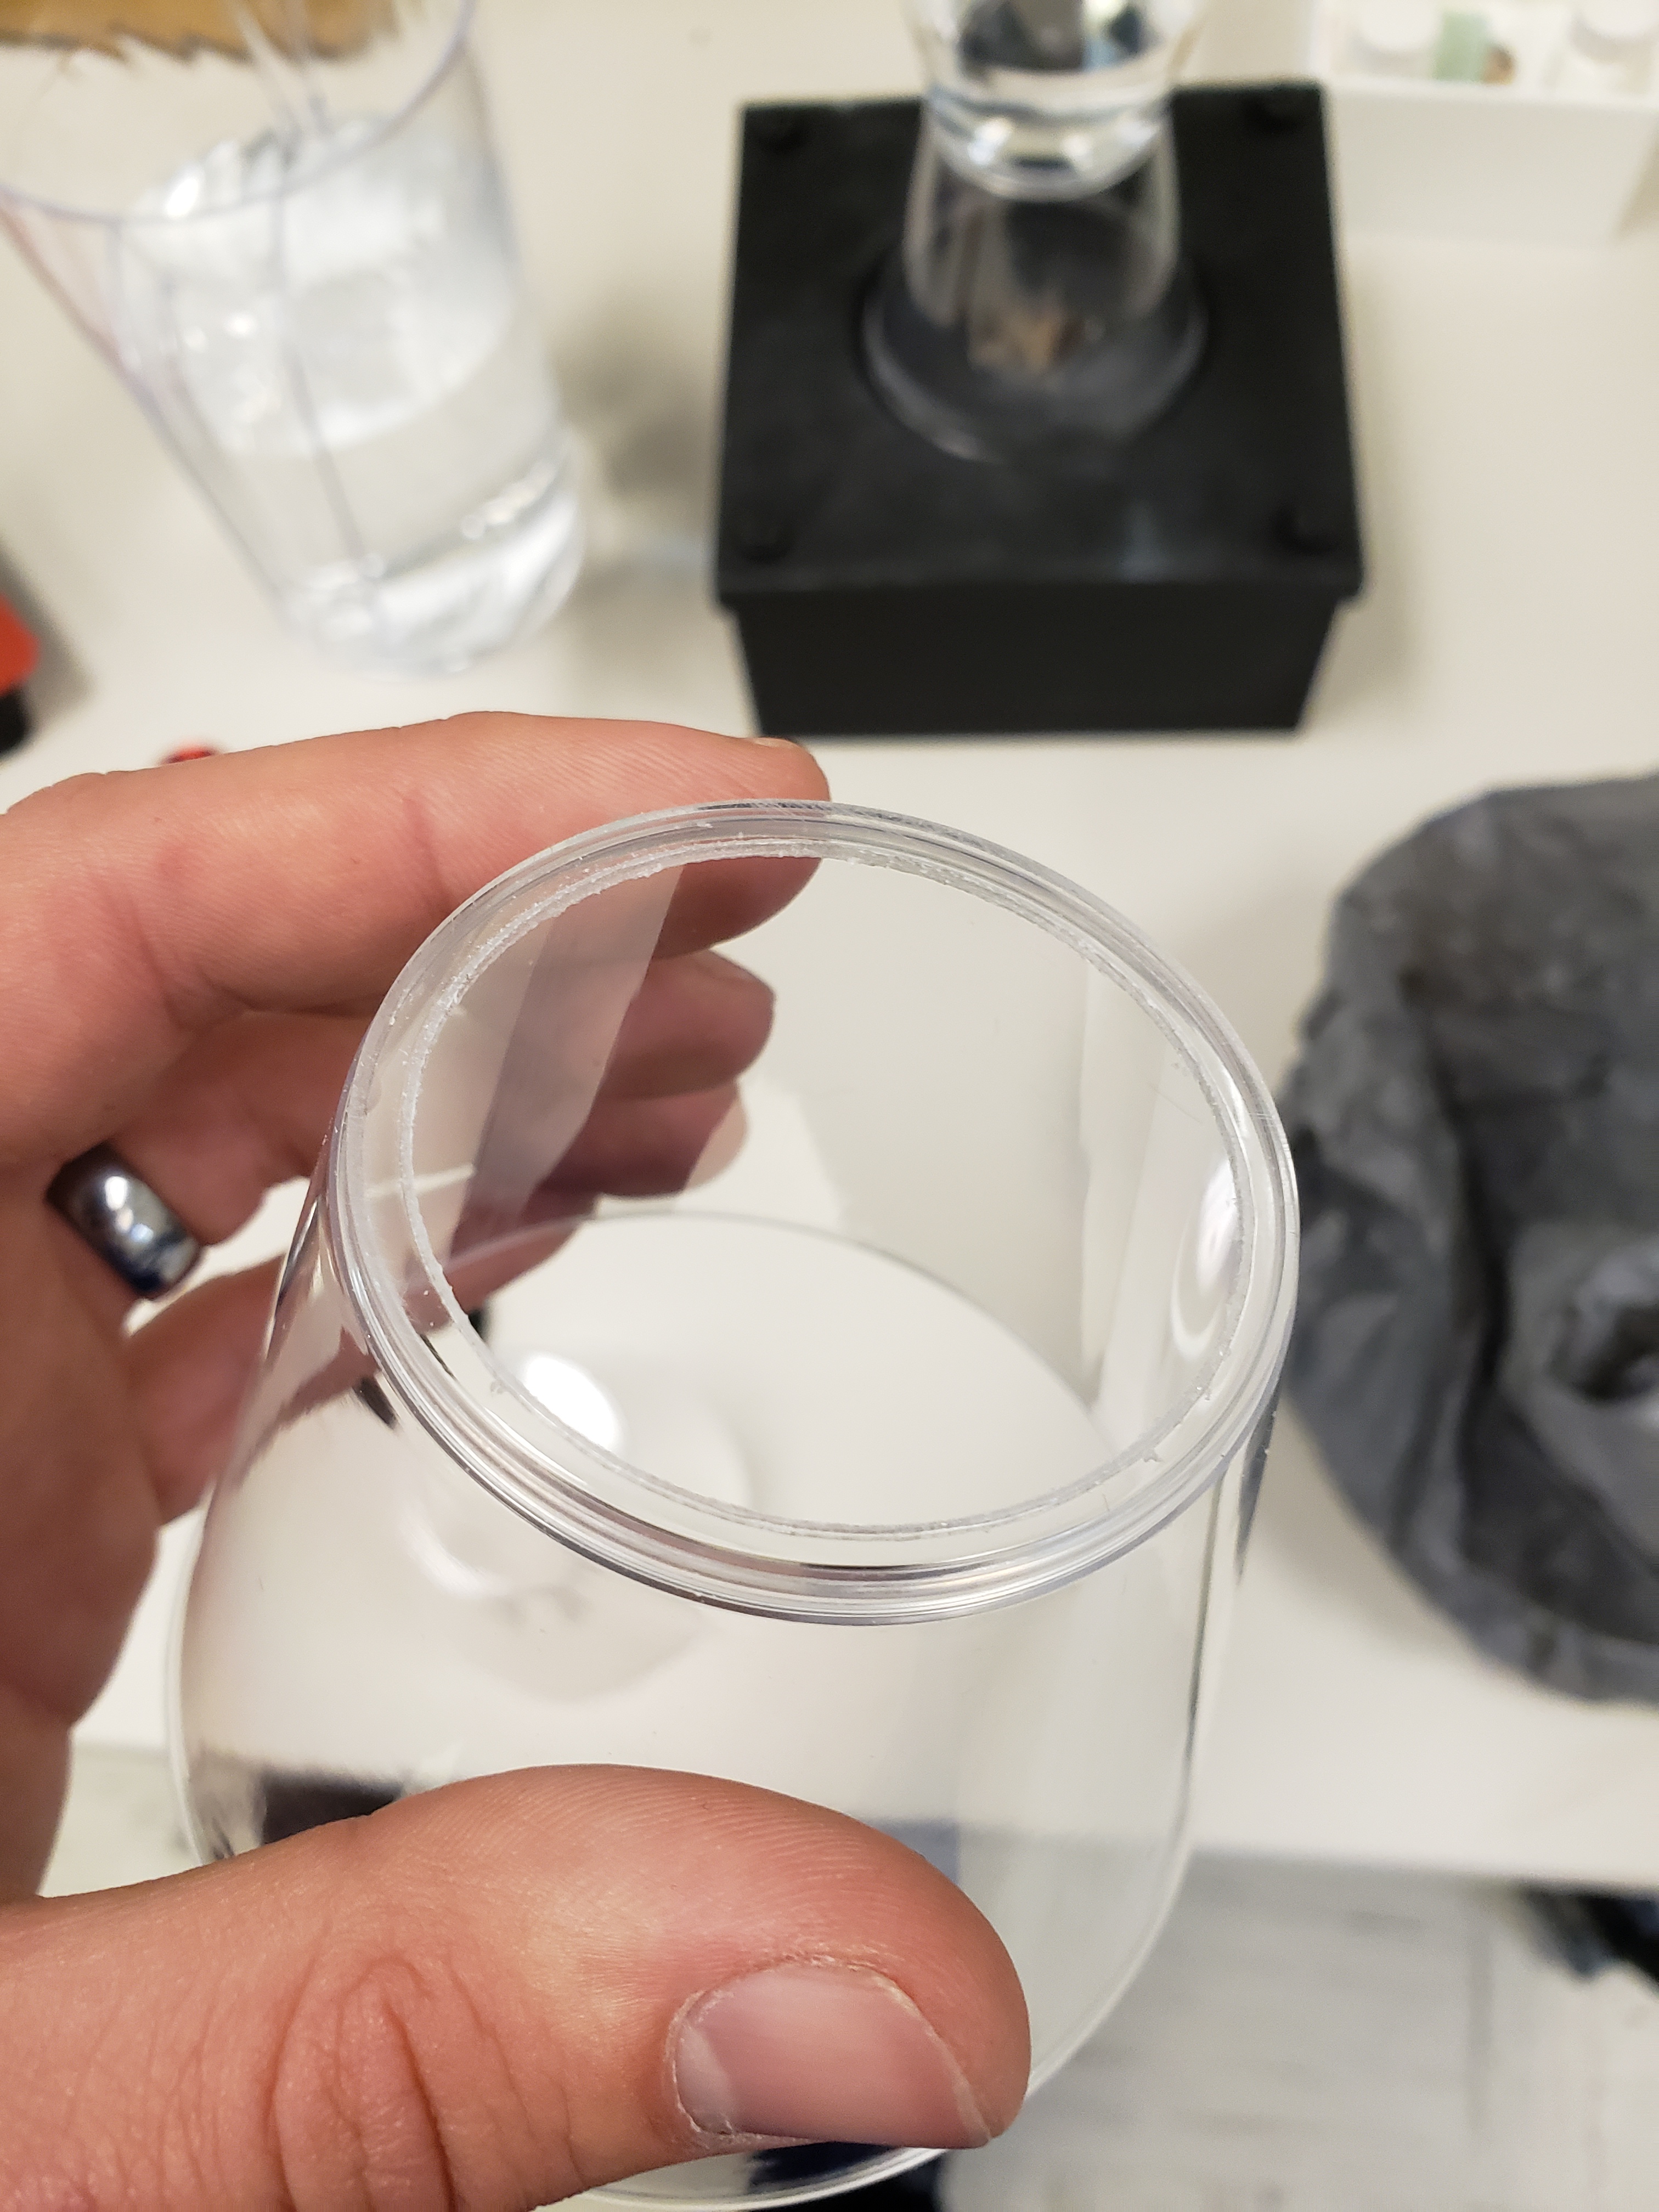
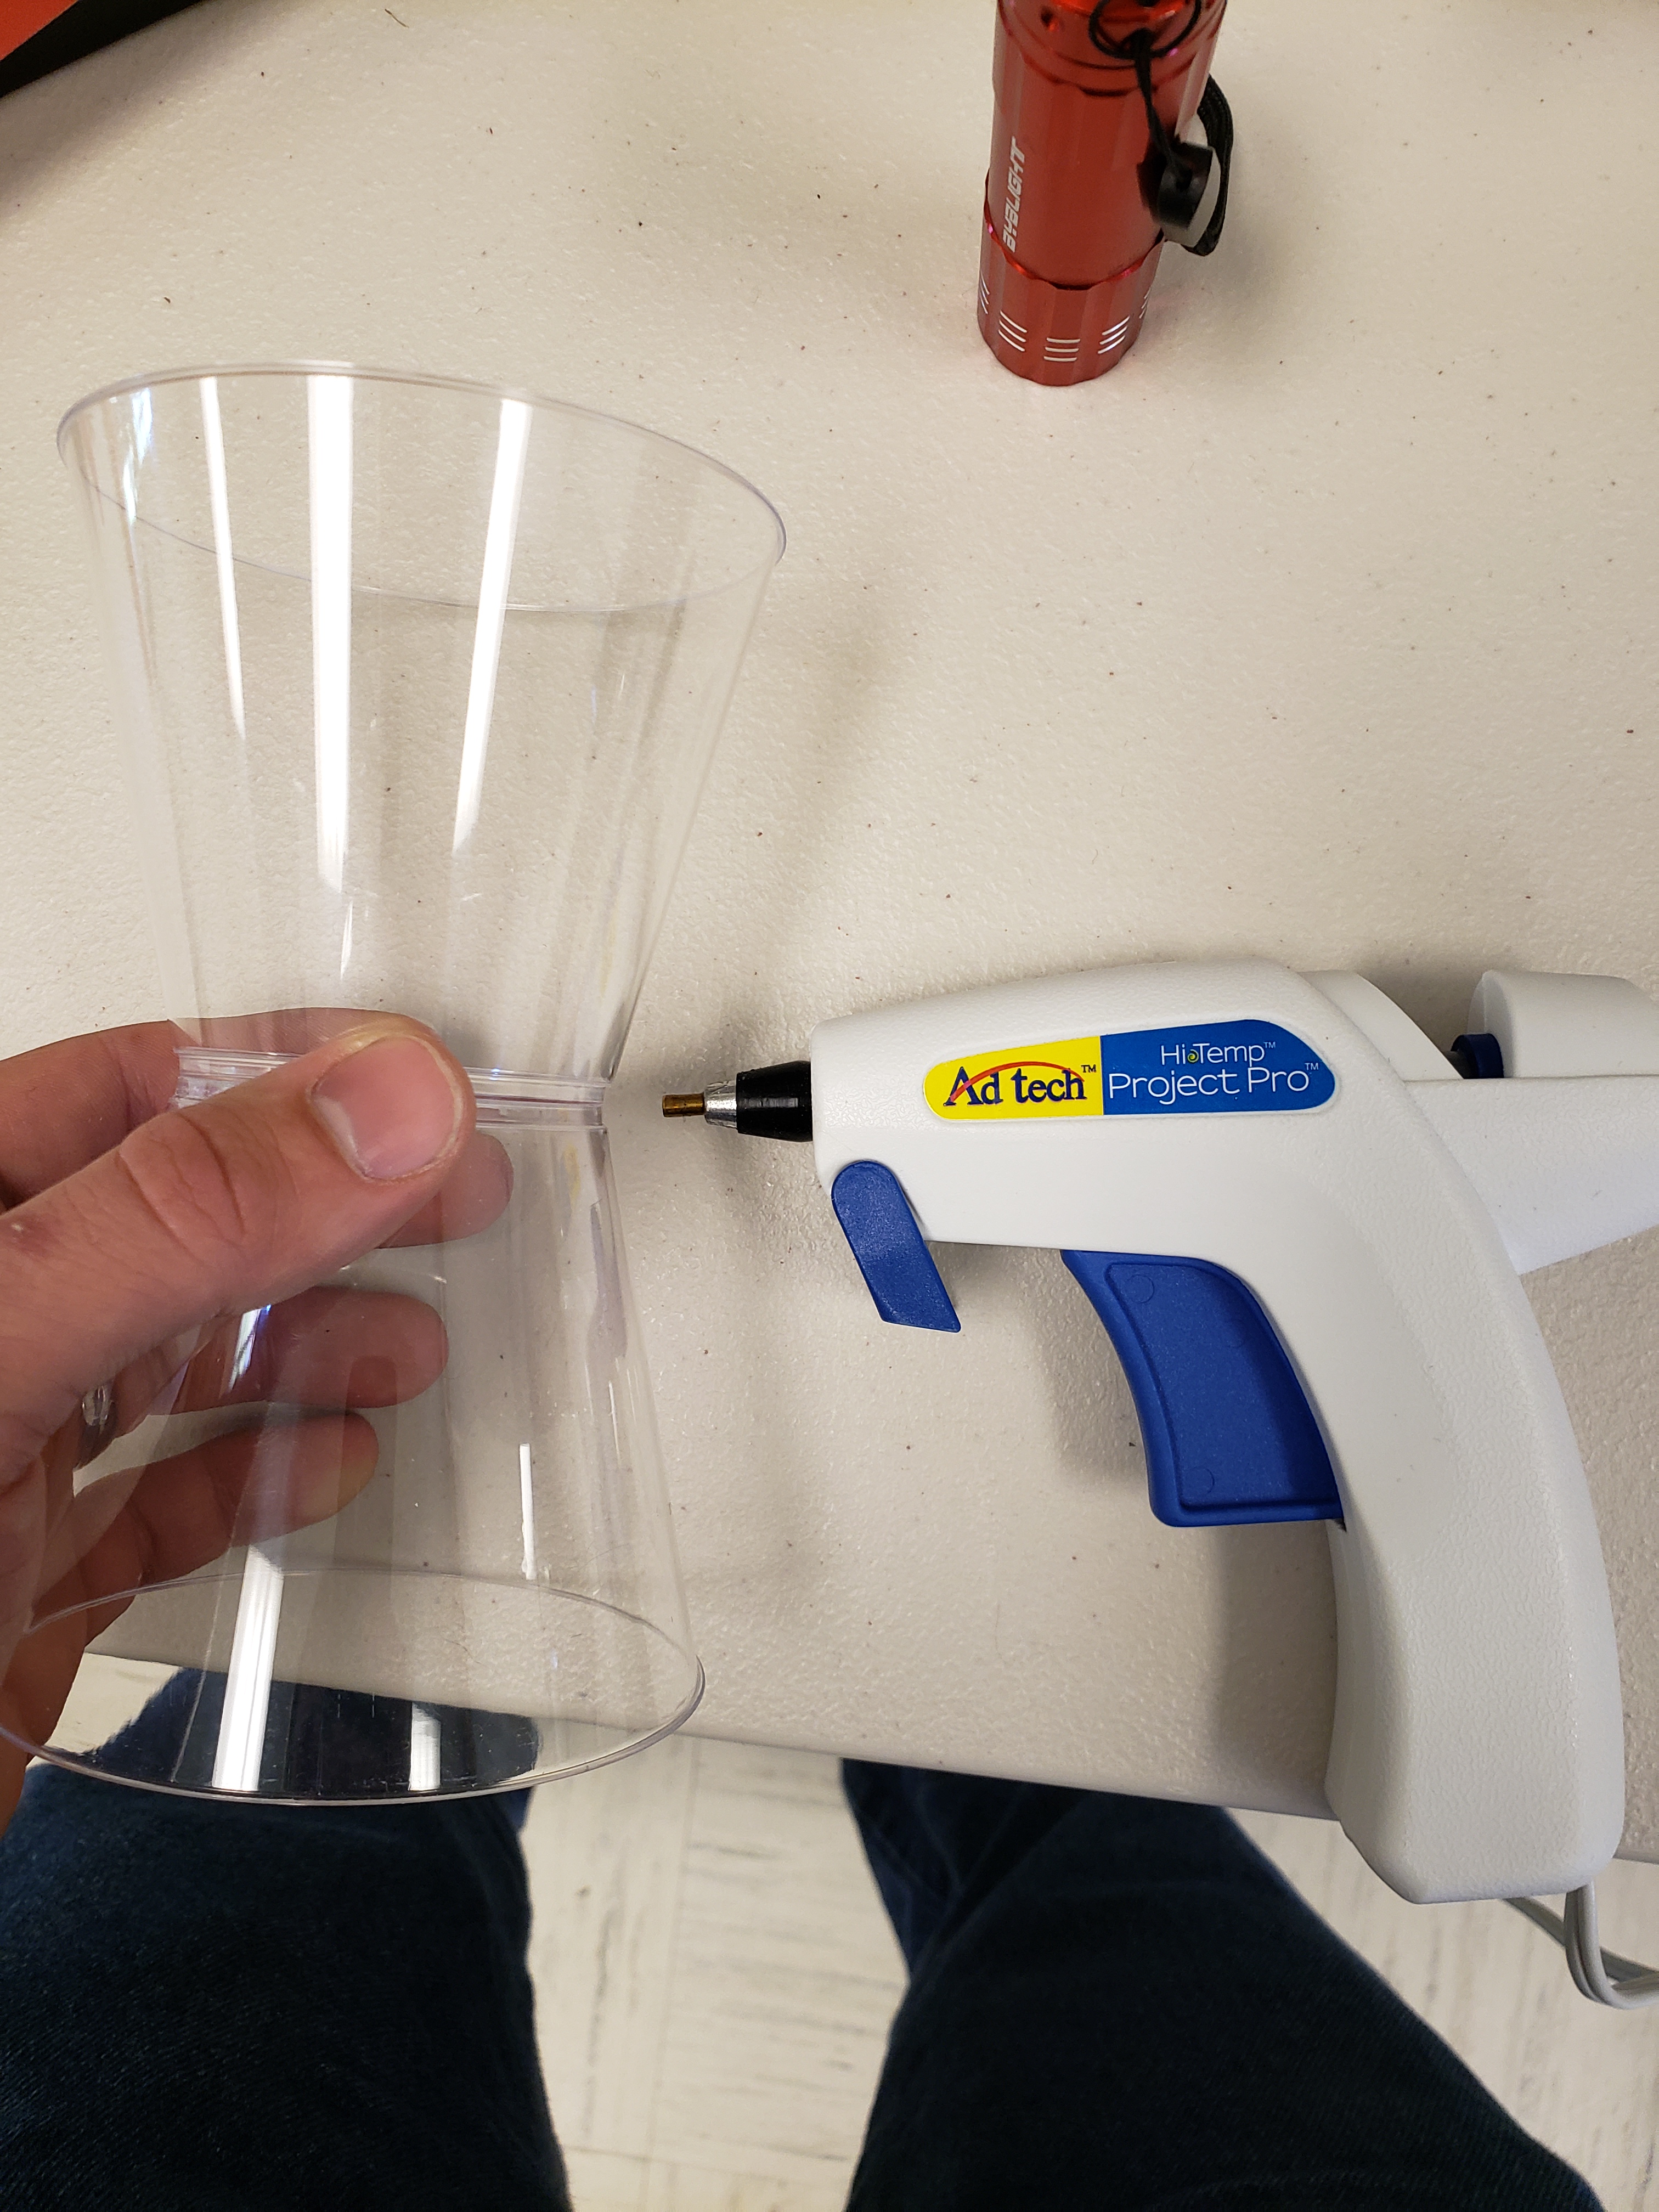
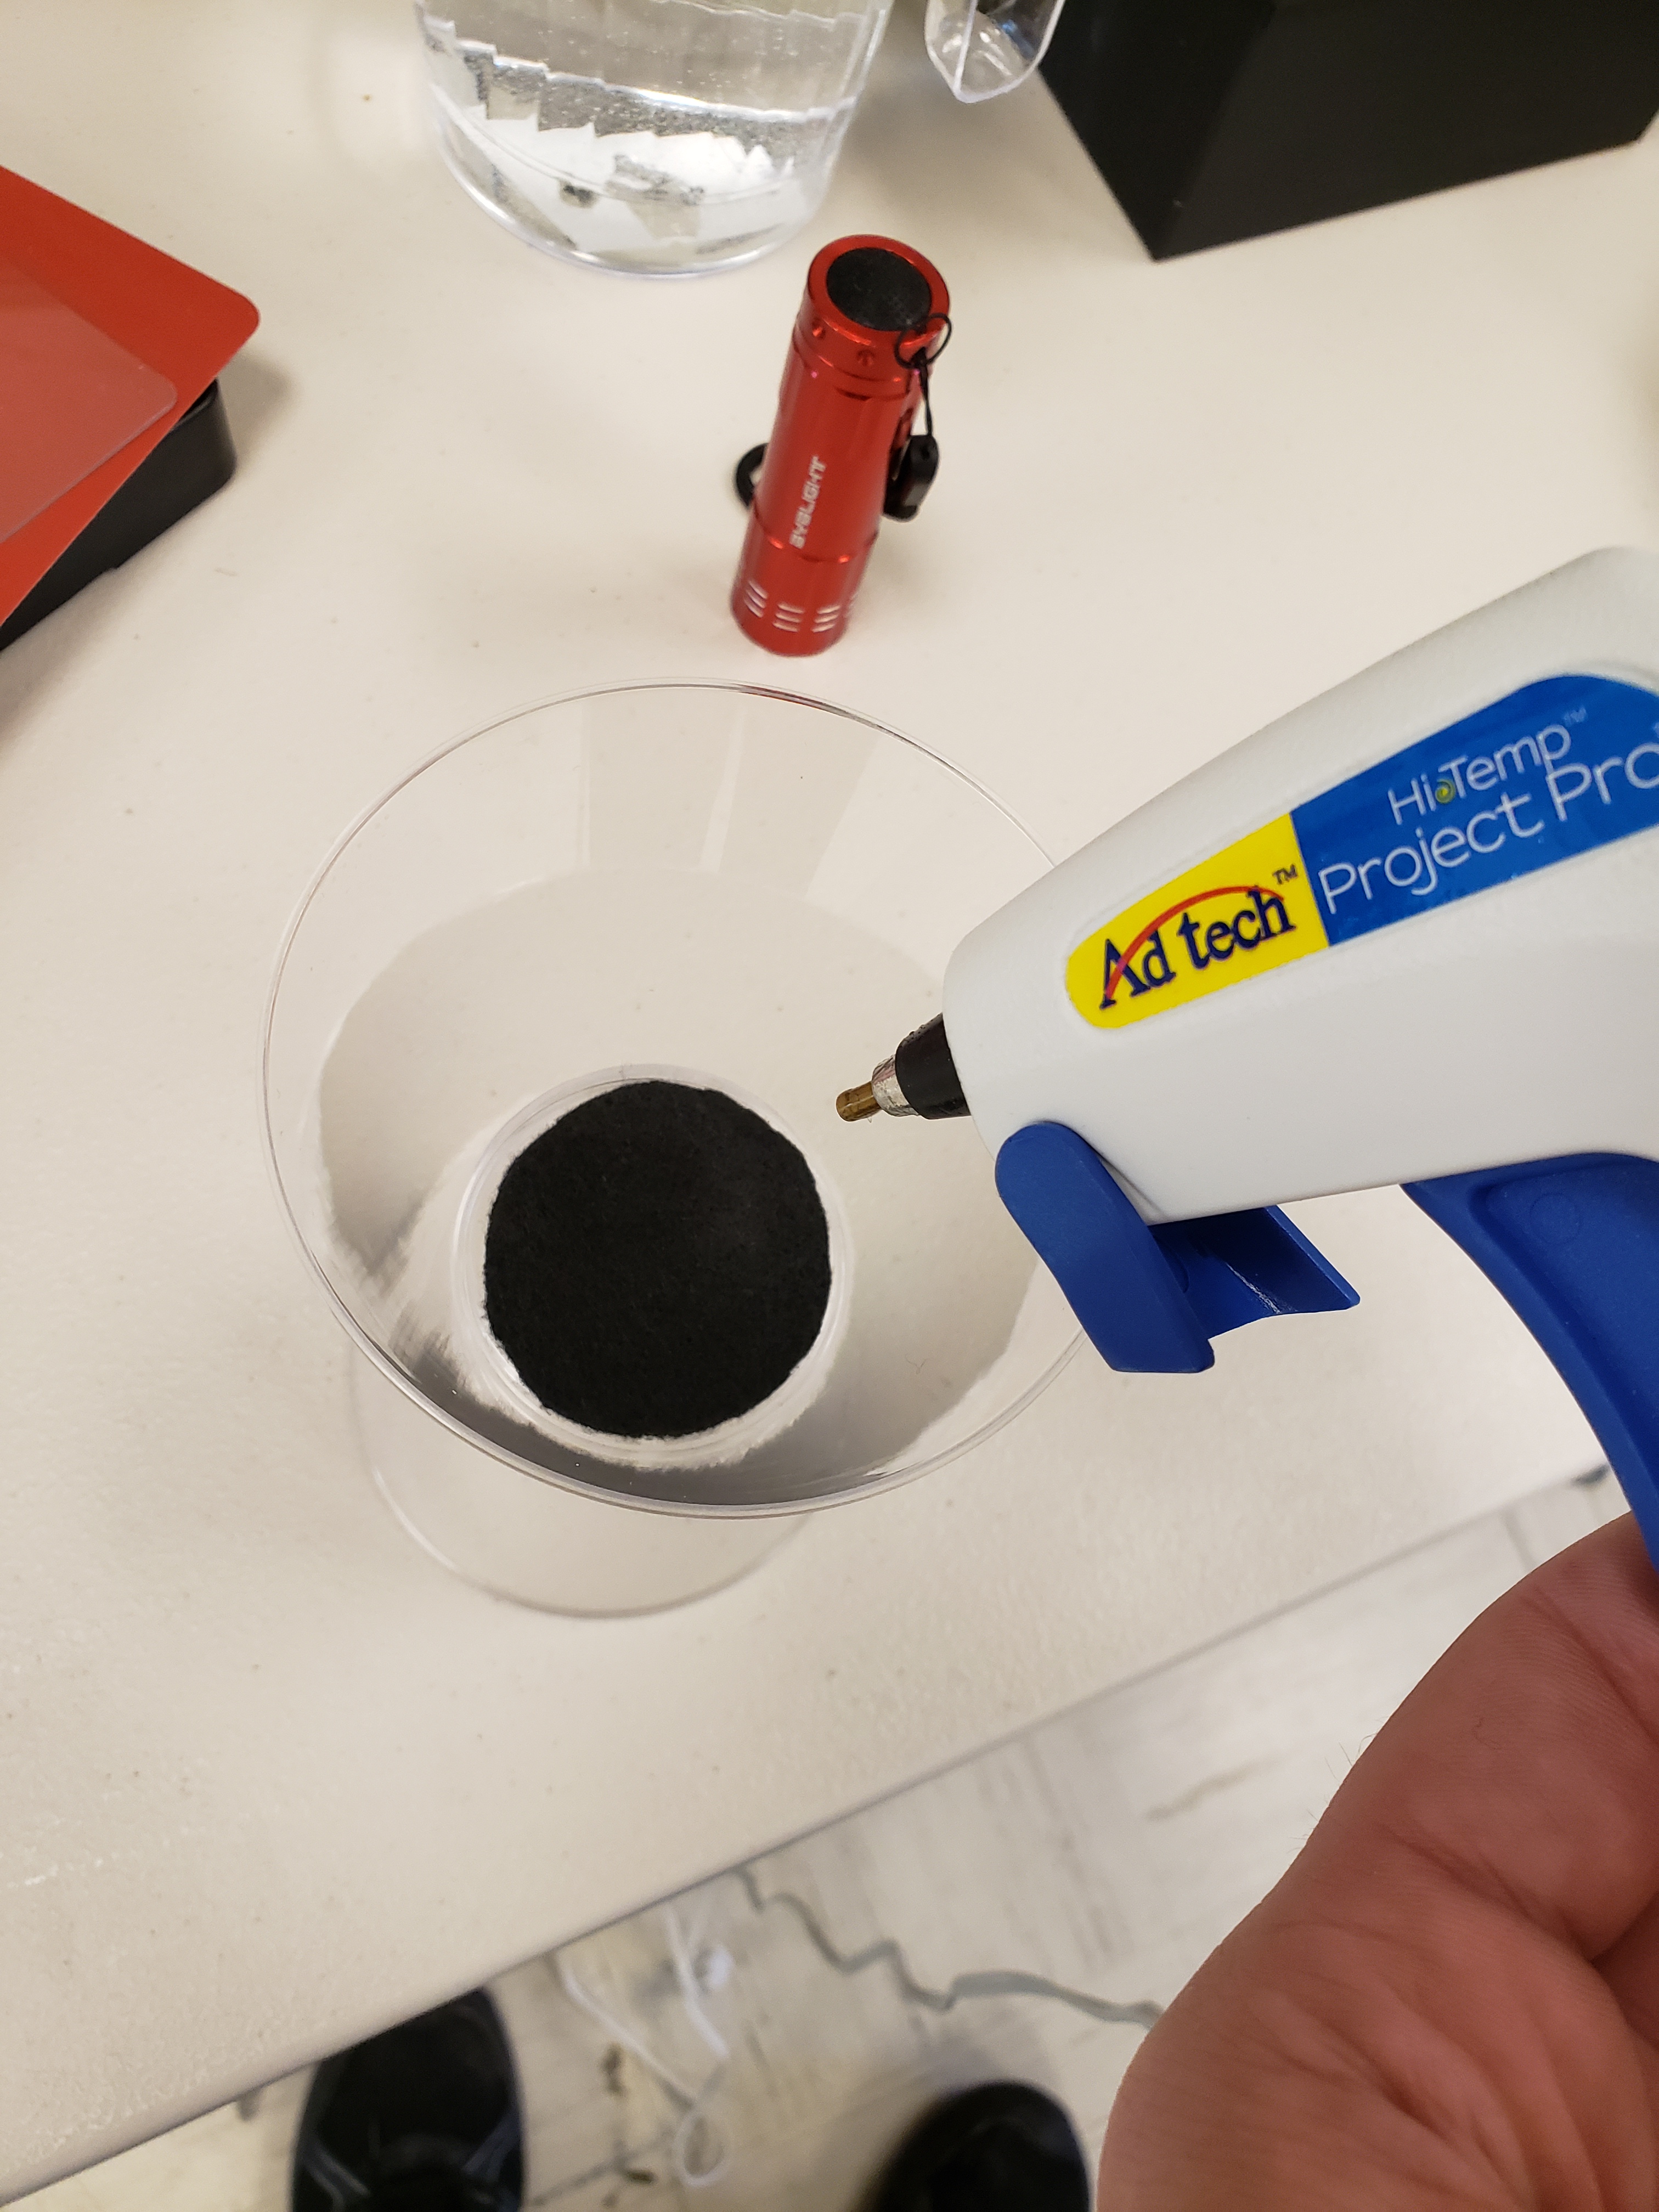
I took 2 cups, carefully drilled out the bottom of one with a hole saw. Glued them together end to end with hot-glue, and mounted a piece of felt in top of the drilled out one.
The rational here, is that I need a sealed viewing chamber, but also the non-drilled cup will hold warm water.

Alcohol
As mentioned earlier, having dry alcohol is important, even the 1% water left in the drug stores 99% can pose a potential issue in operation.
If you can get anhydrous Isopropyl Alcohol, use that.
Anyone can home can make dry alcohol. Its easy. I used magnesium Sulfate to leach the water from the Isopropyl Alcohol. But you cant easily buy anhydrous magnesium sulfate. So we have to make it. Conveniently, the local drug store carries Hydrated Magnesium Sulfate, in the form of Epsom Salt.
- Get the highest grade Isopropyl Alcohol you can reasonably buy
- 90% seems to be pretty standard. in the local drug store
- Get a Big Bag of Epsom Salt, also from the local drug store
- Note: just regular Epsom Salt with no additives, or oils or fragrances.
- Place aluminium foil on a bakers sheet, and cover in Epsom salt
- Place a piece of aluminium window screen over the salt on the aluminium foil
- This will let moisture escape easily
- The salt likes to pop, so the screen will help keep it contained
- Heat oven to around 400 and let it cook for a few hours
- Open the oven every 30 min or so to release the humidity
- You can tell when its done, as the salt will look very white
- Its ok if you don’t drive all the moisture out. So long as its ready to do some absorbing you’ll be fine.
- I just poured the room temp salt into the Isopropyl Alcohol bottle
- you will want to remove some alcohol, ~25%
- shake it up, let it settle, shake it up again. repeat off and on for a day.
- might be worth getting some form of tea bag or something to make the next step easier.
- Filter out the salt
- Be sure to store with the cap tightly closed
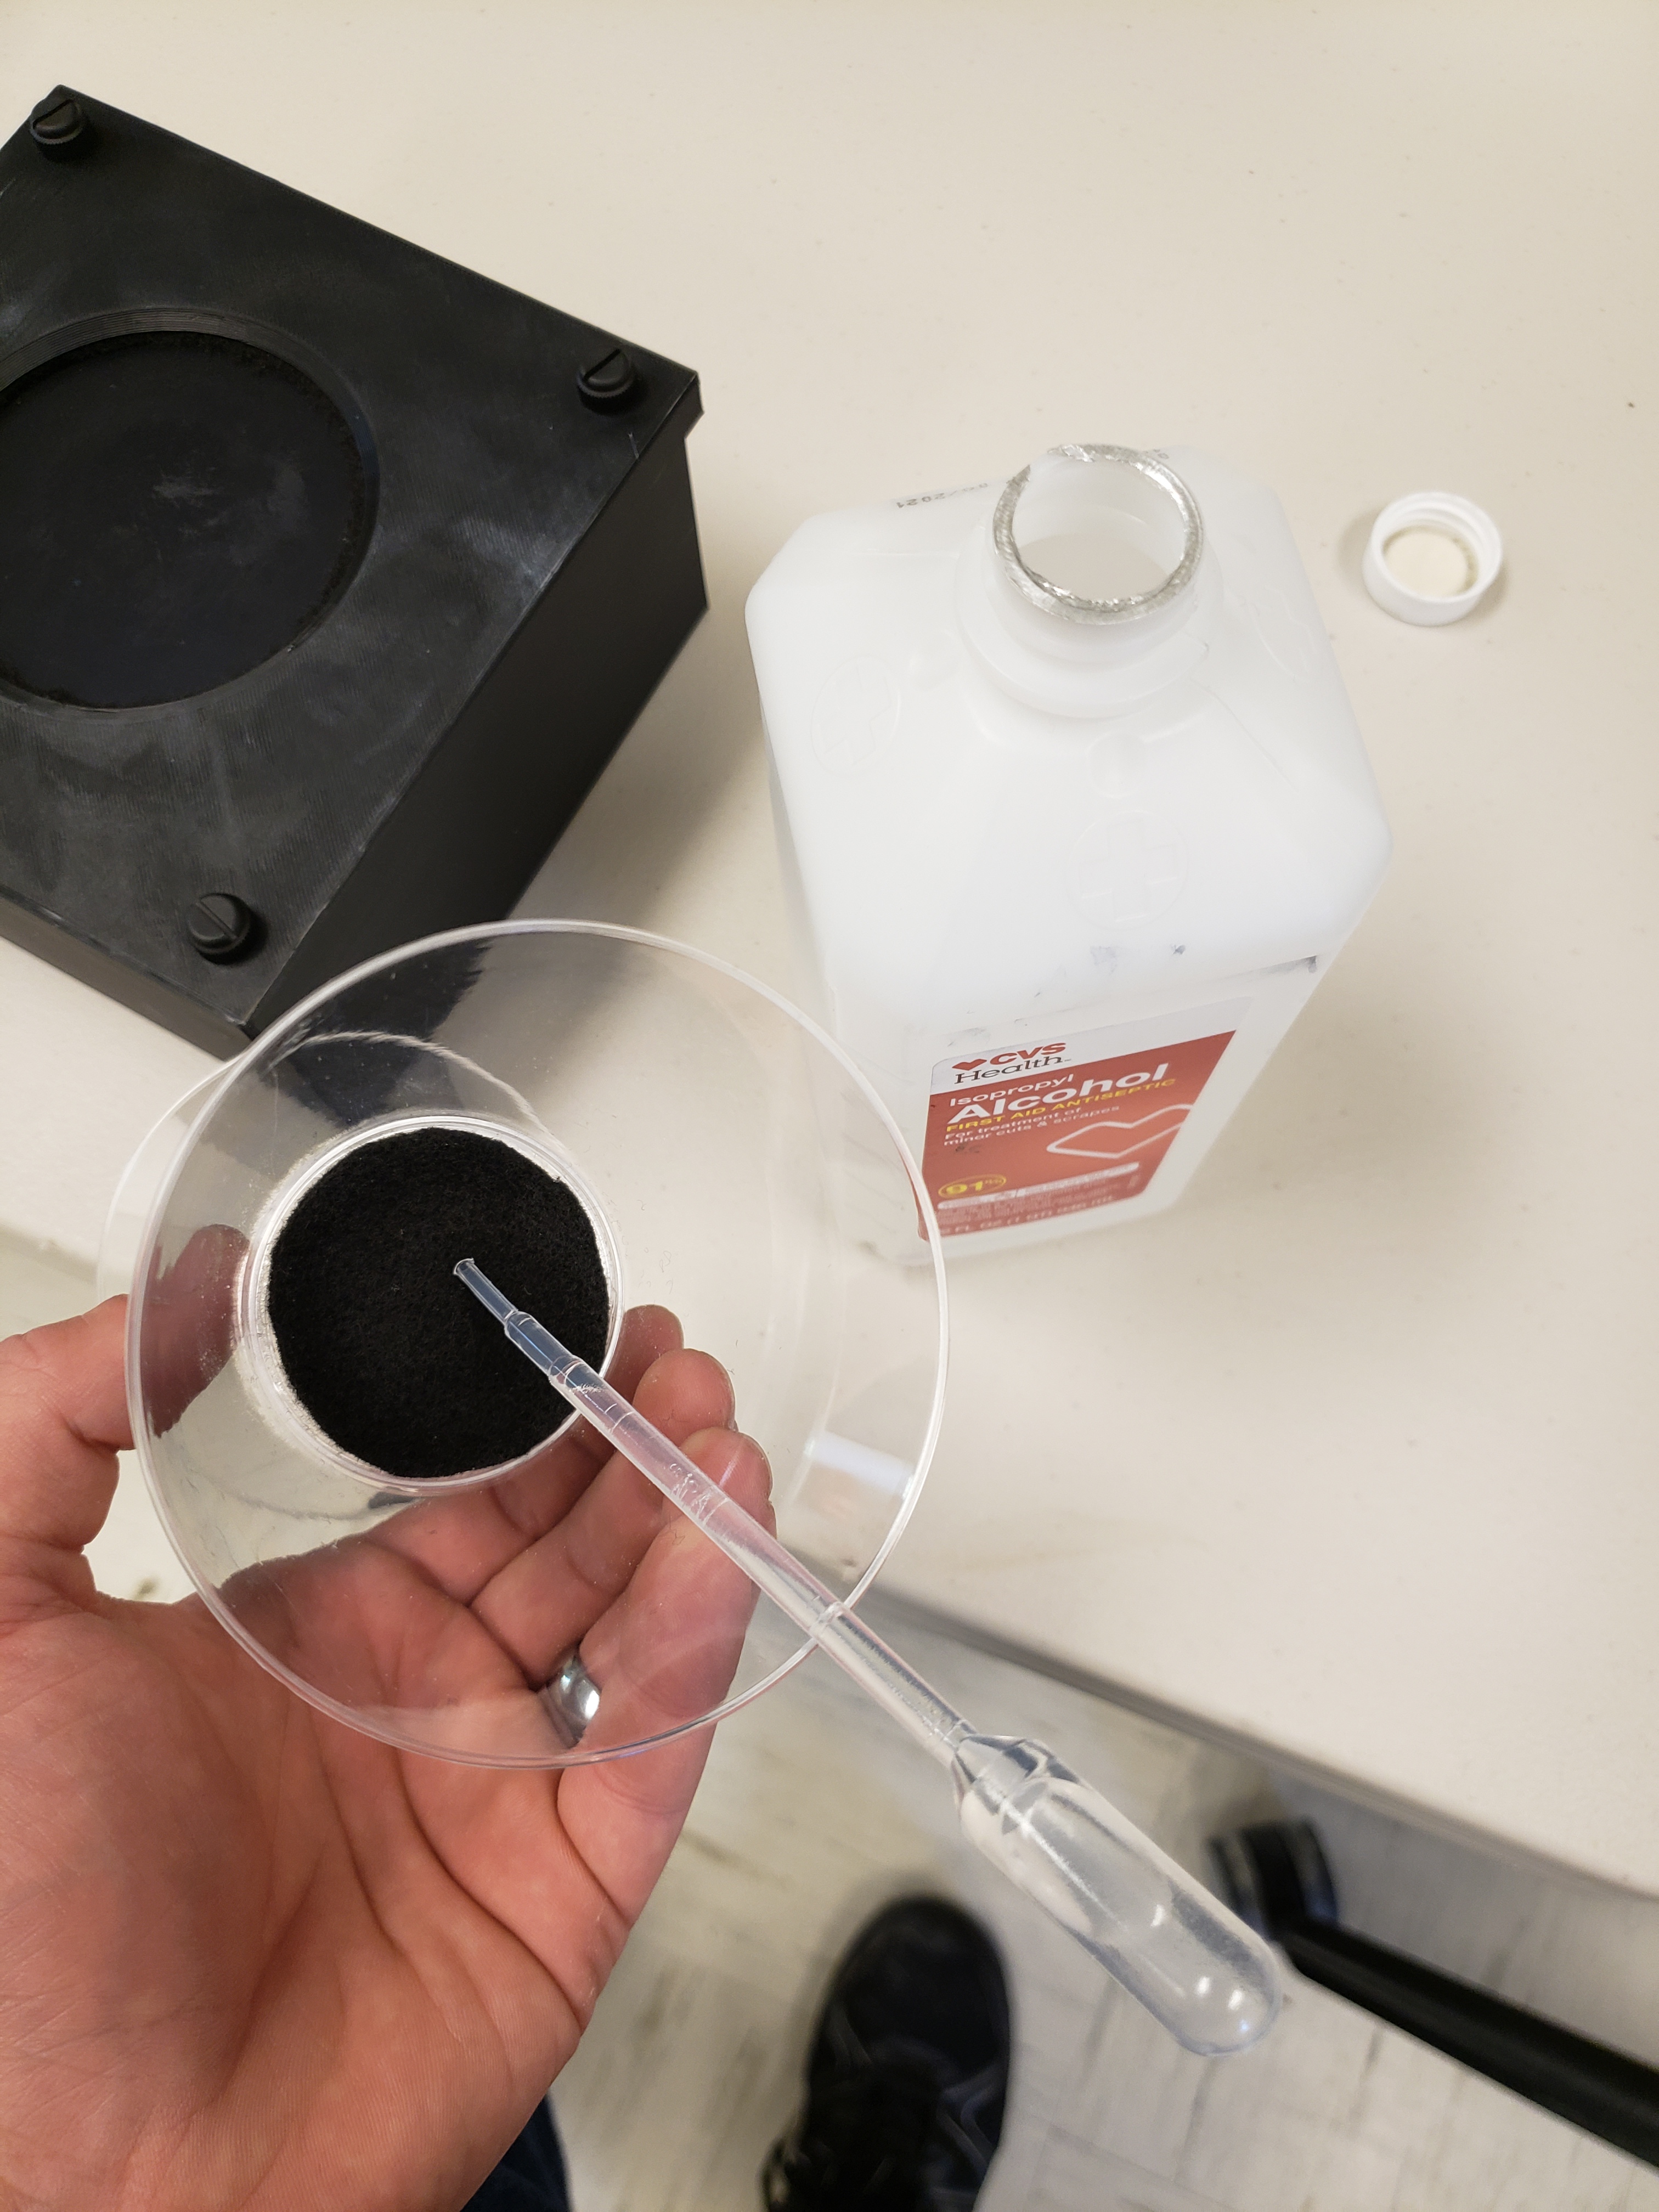
- Place the alcohol onto the felt, you don’t need much, just a few ml to saturate the felt.
- It the felt is dripping you added too much.
Particle Source
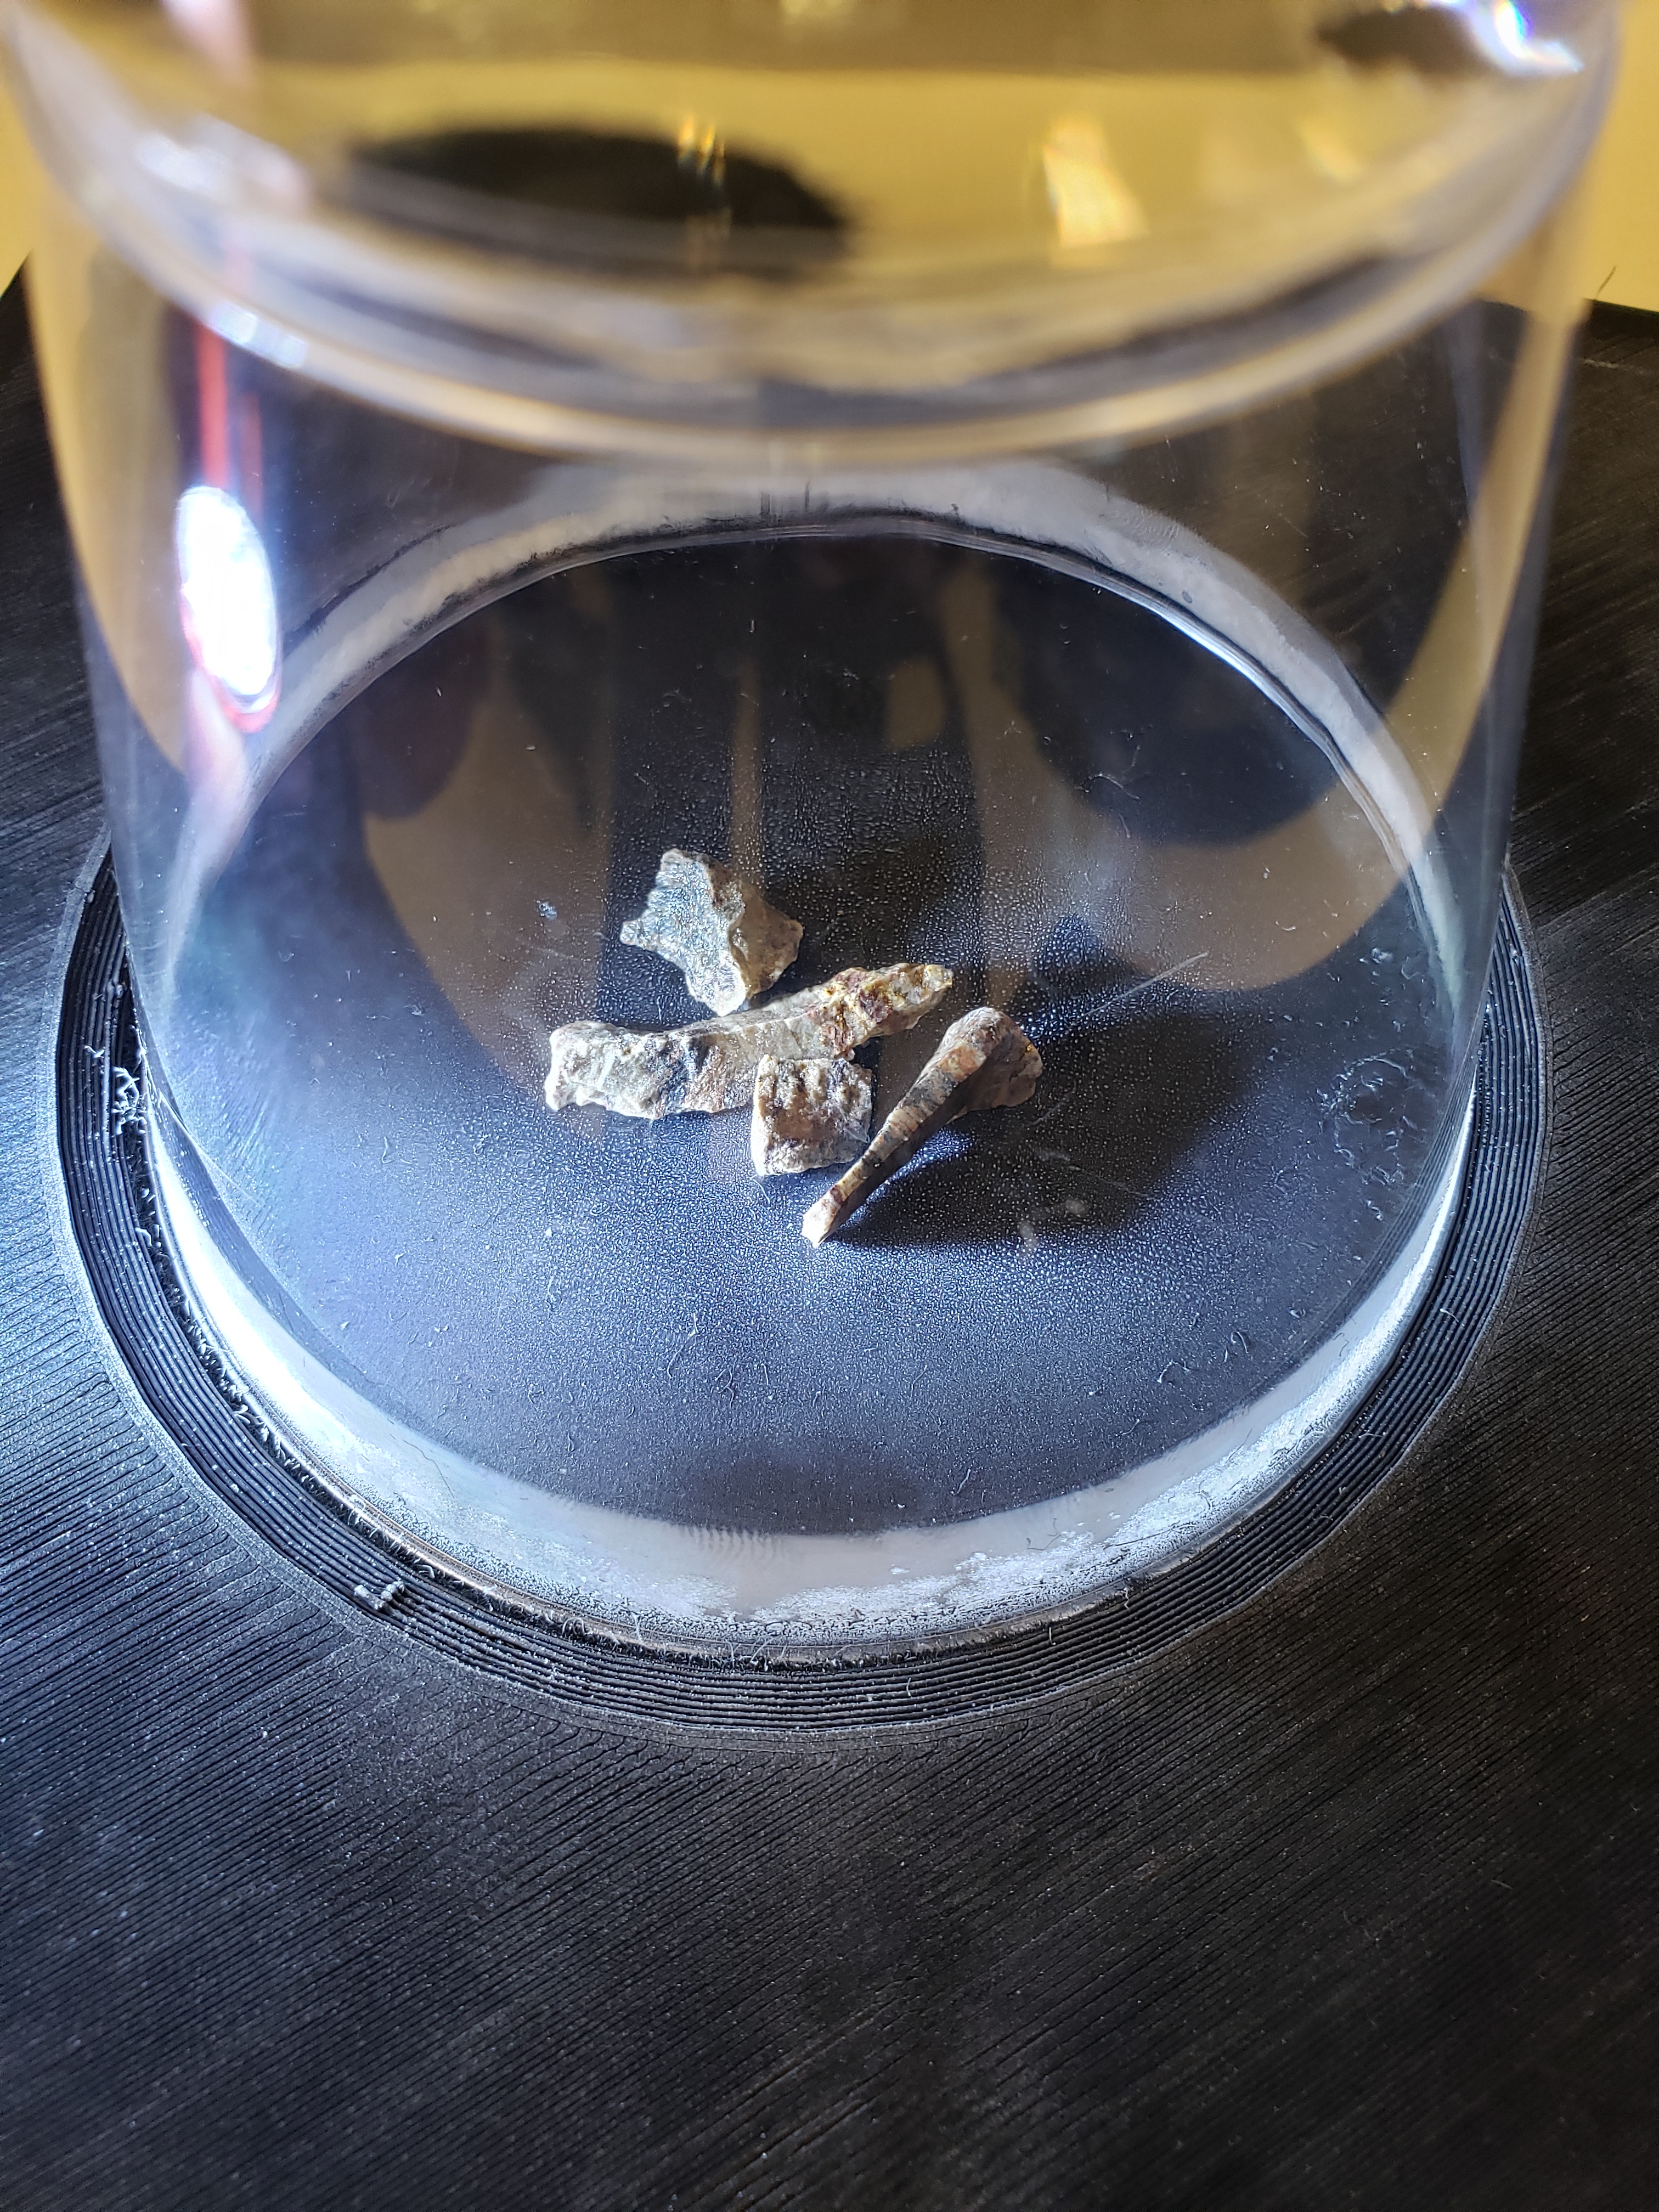
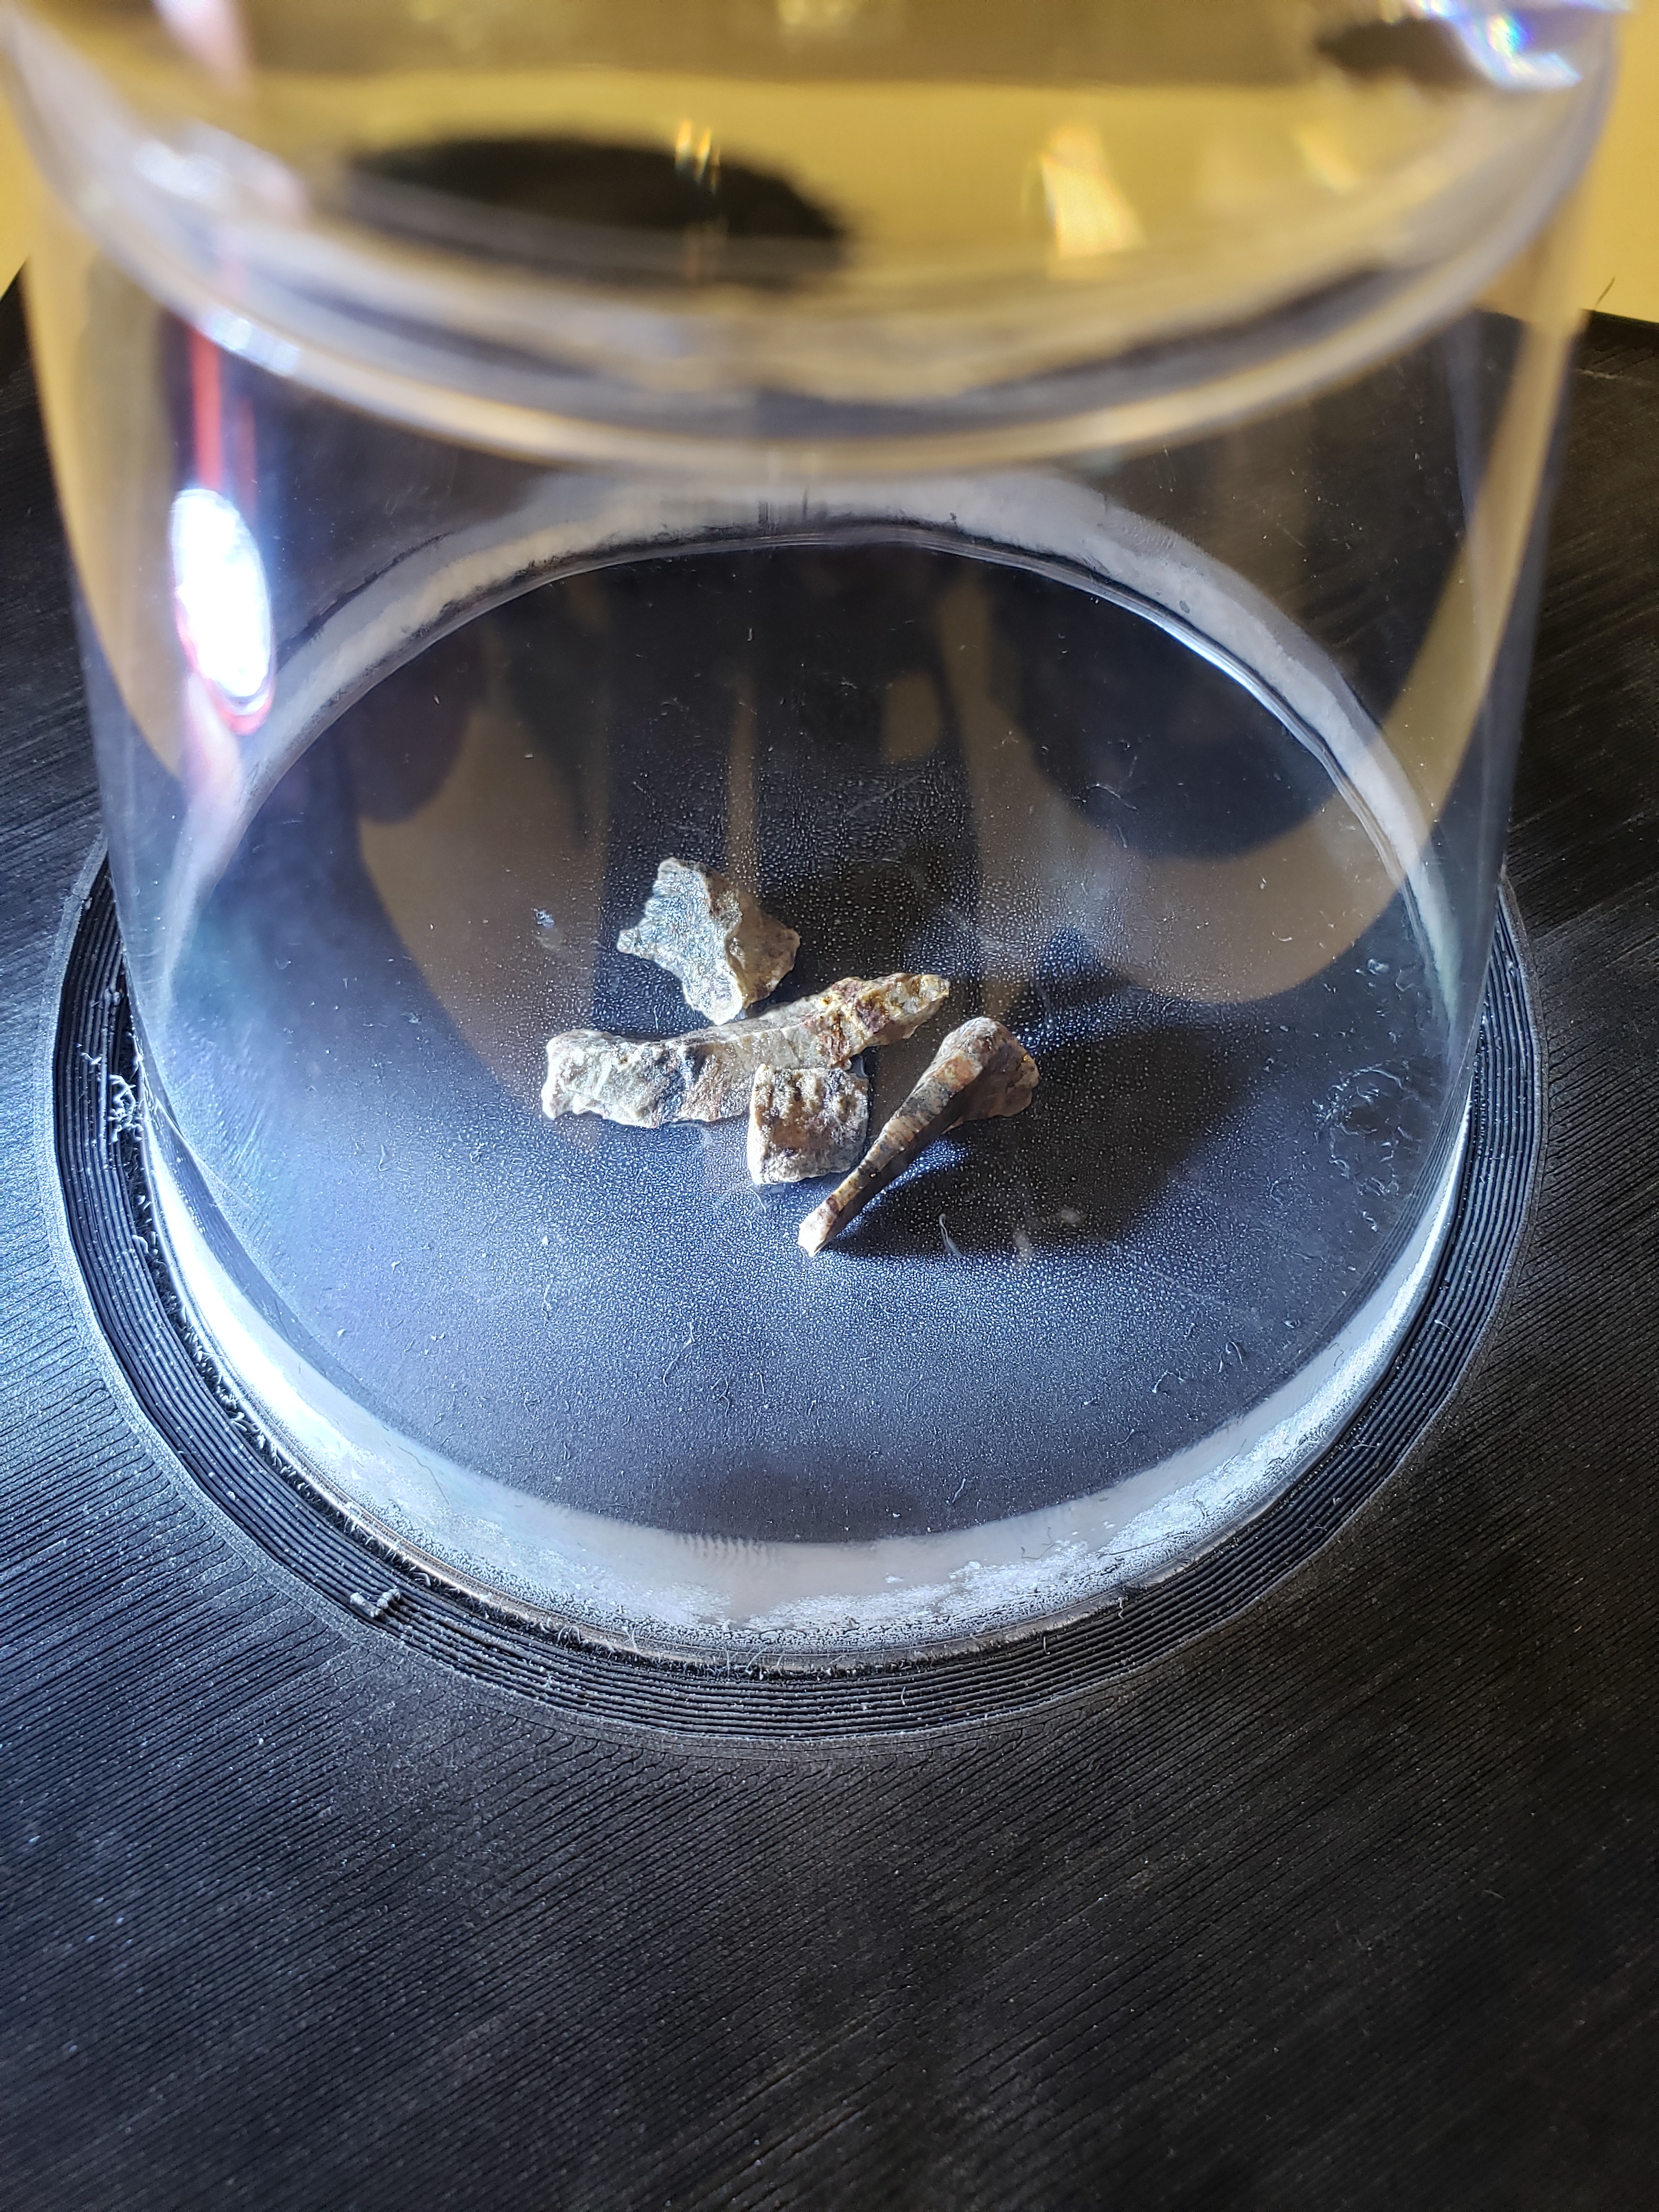
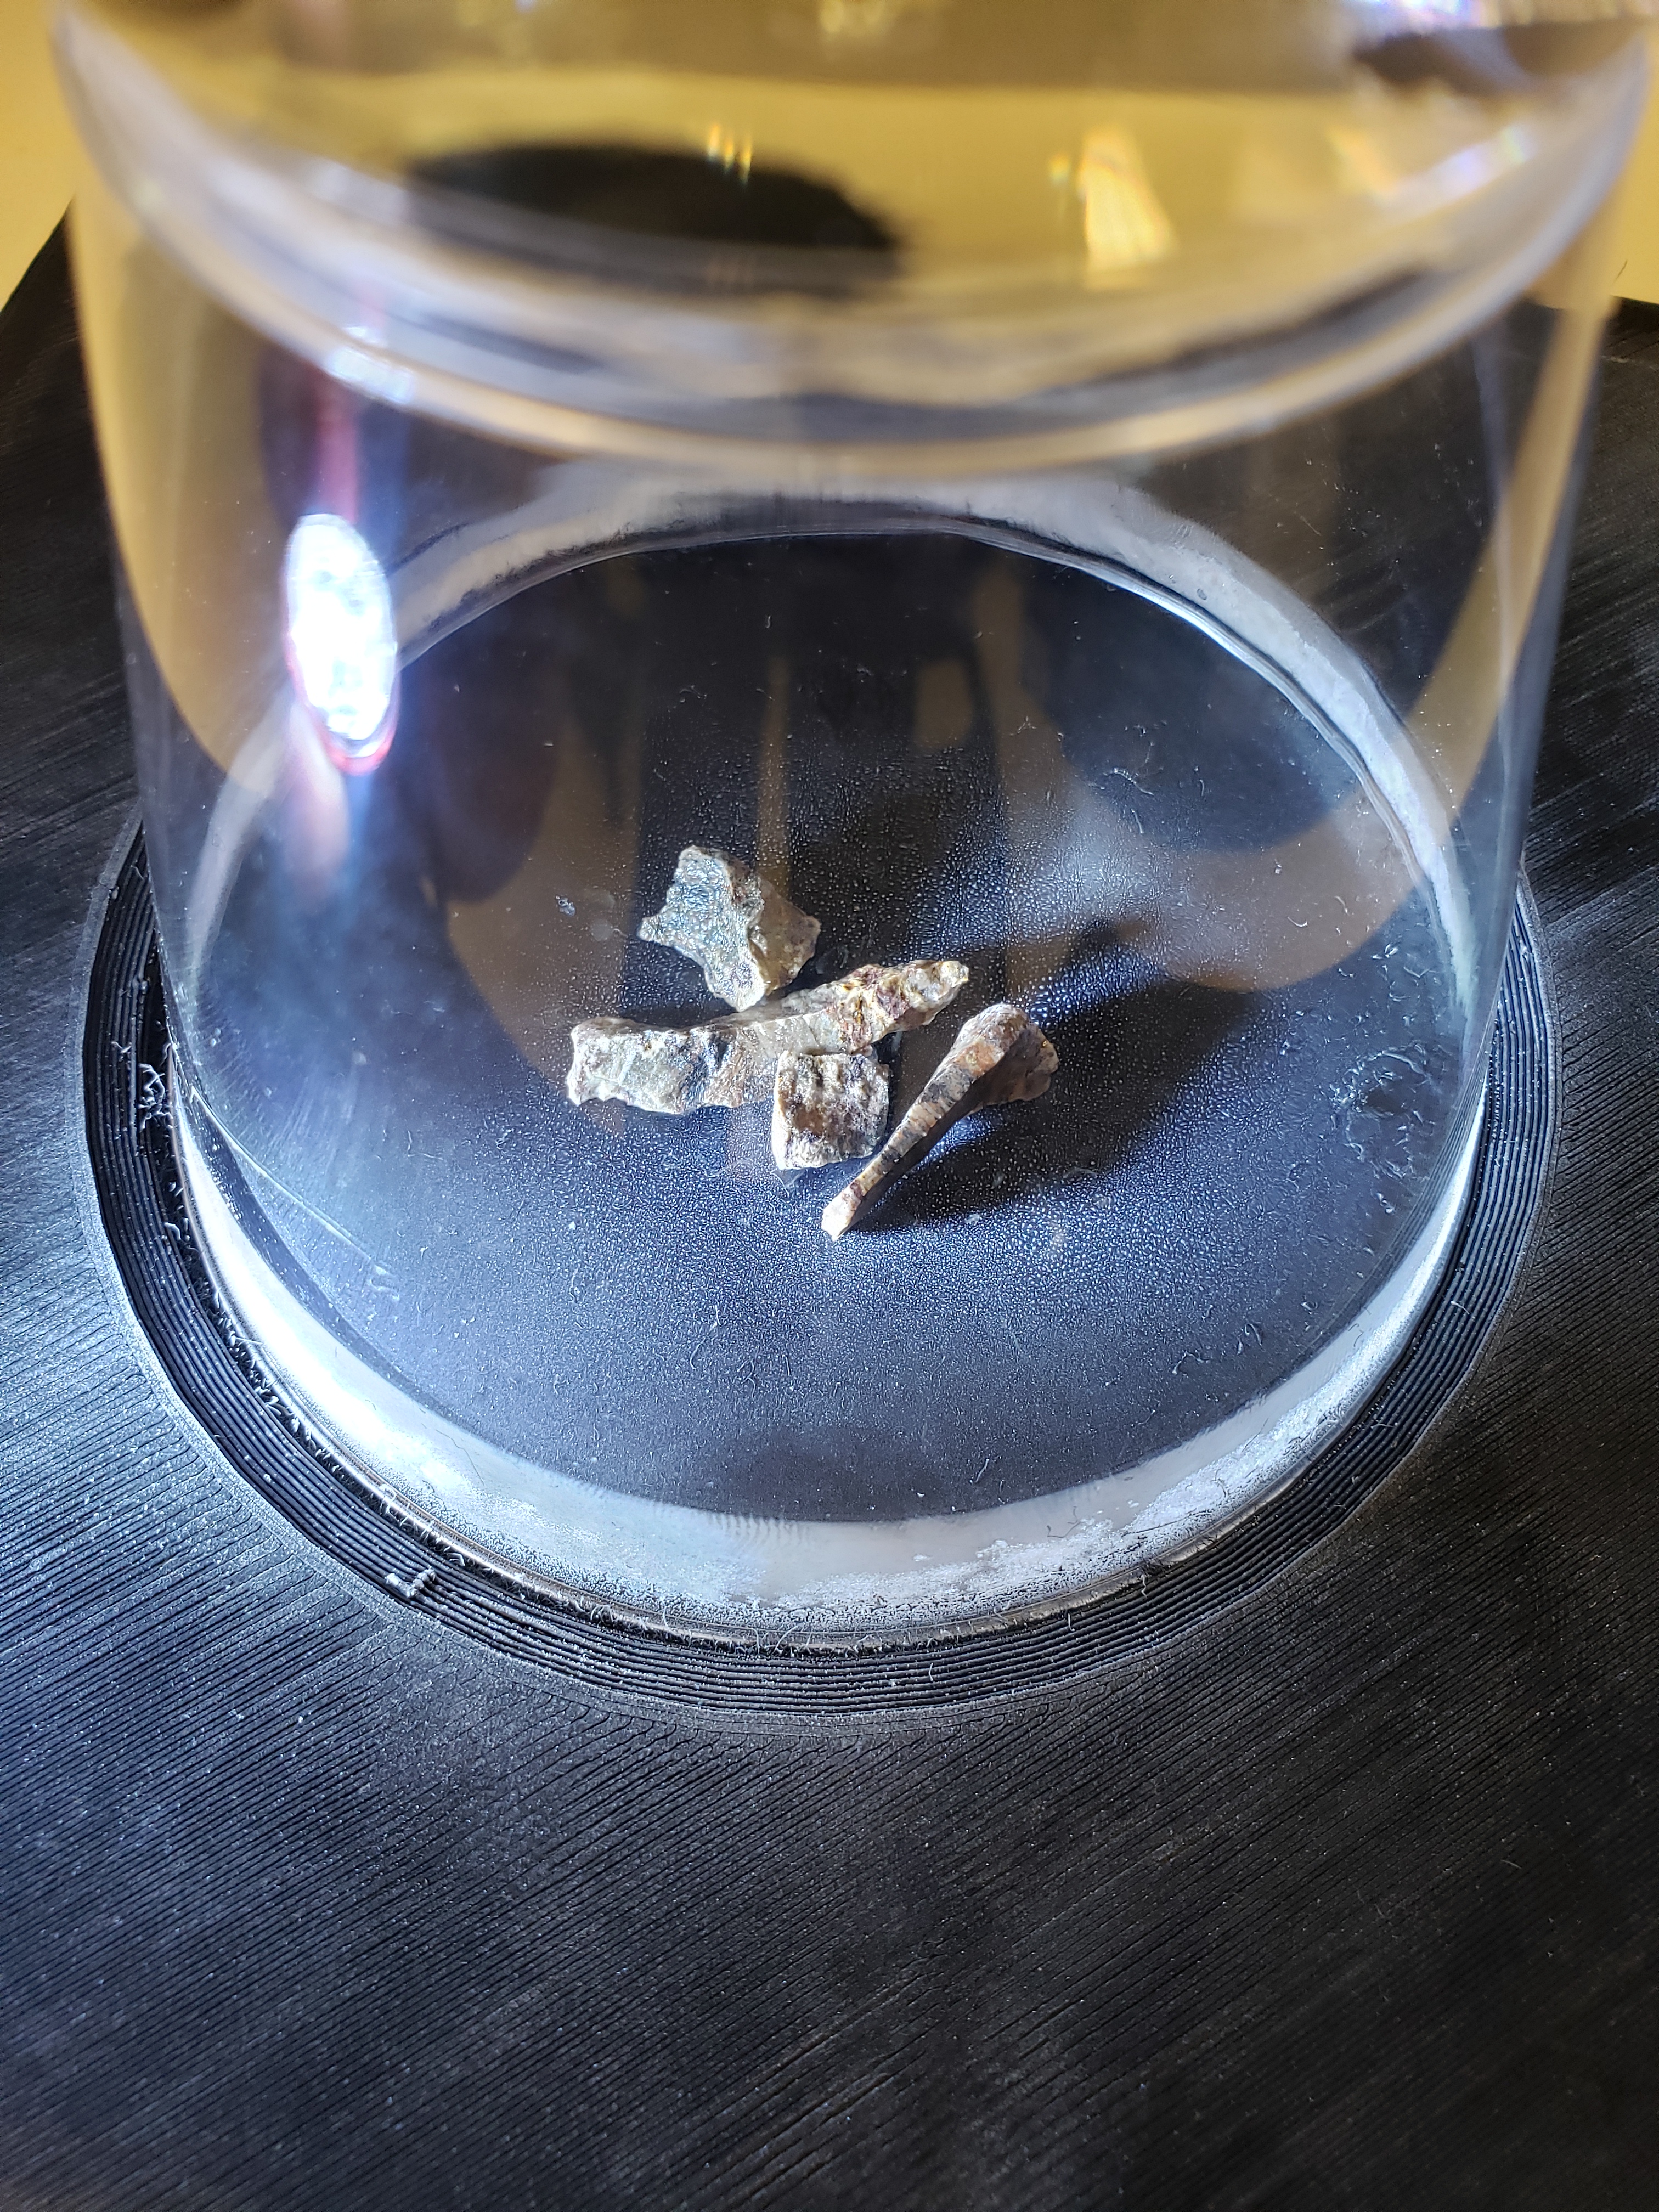
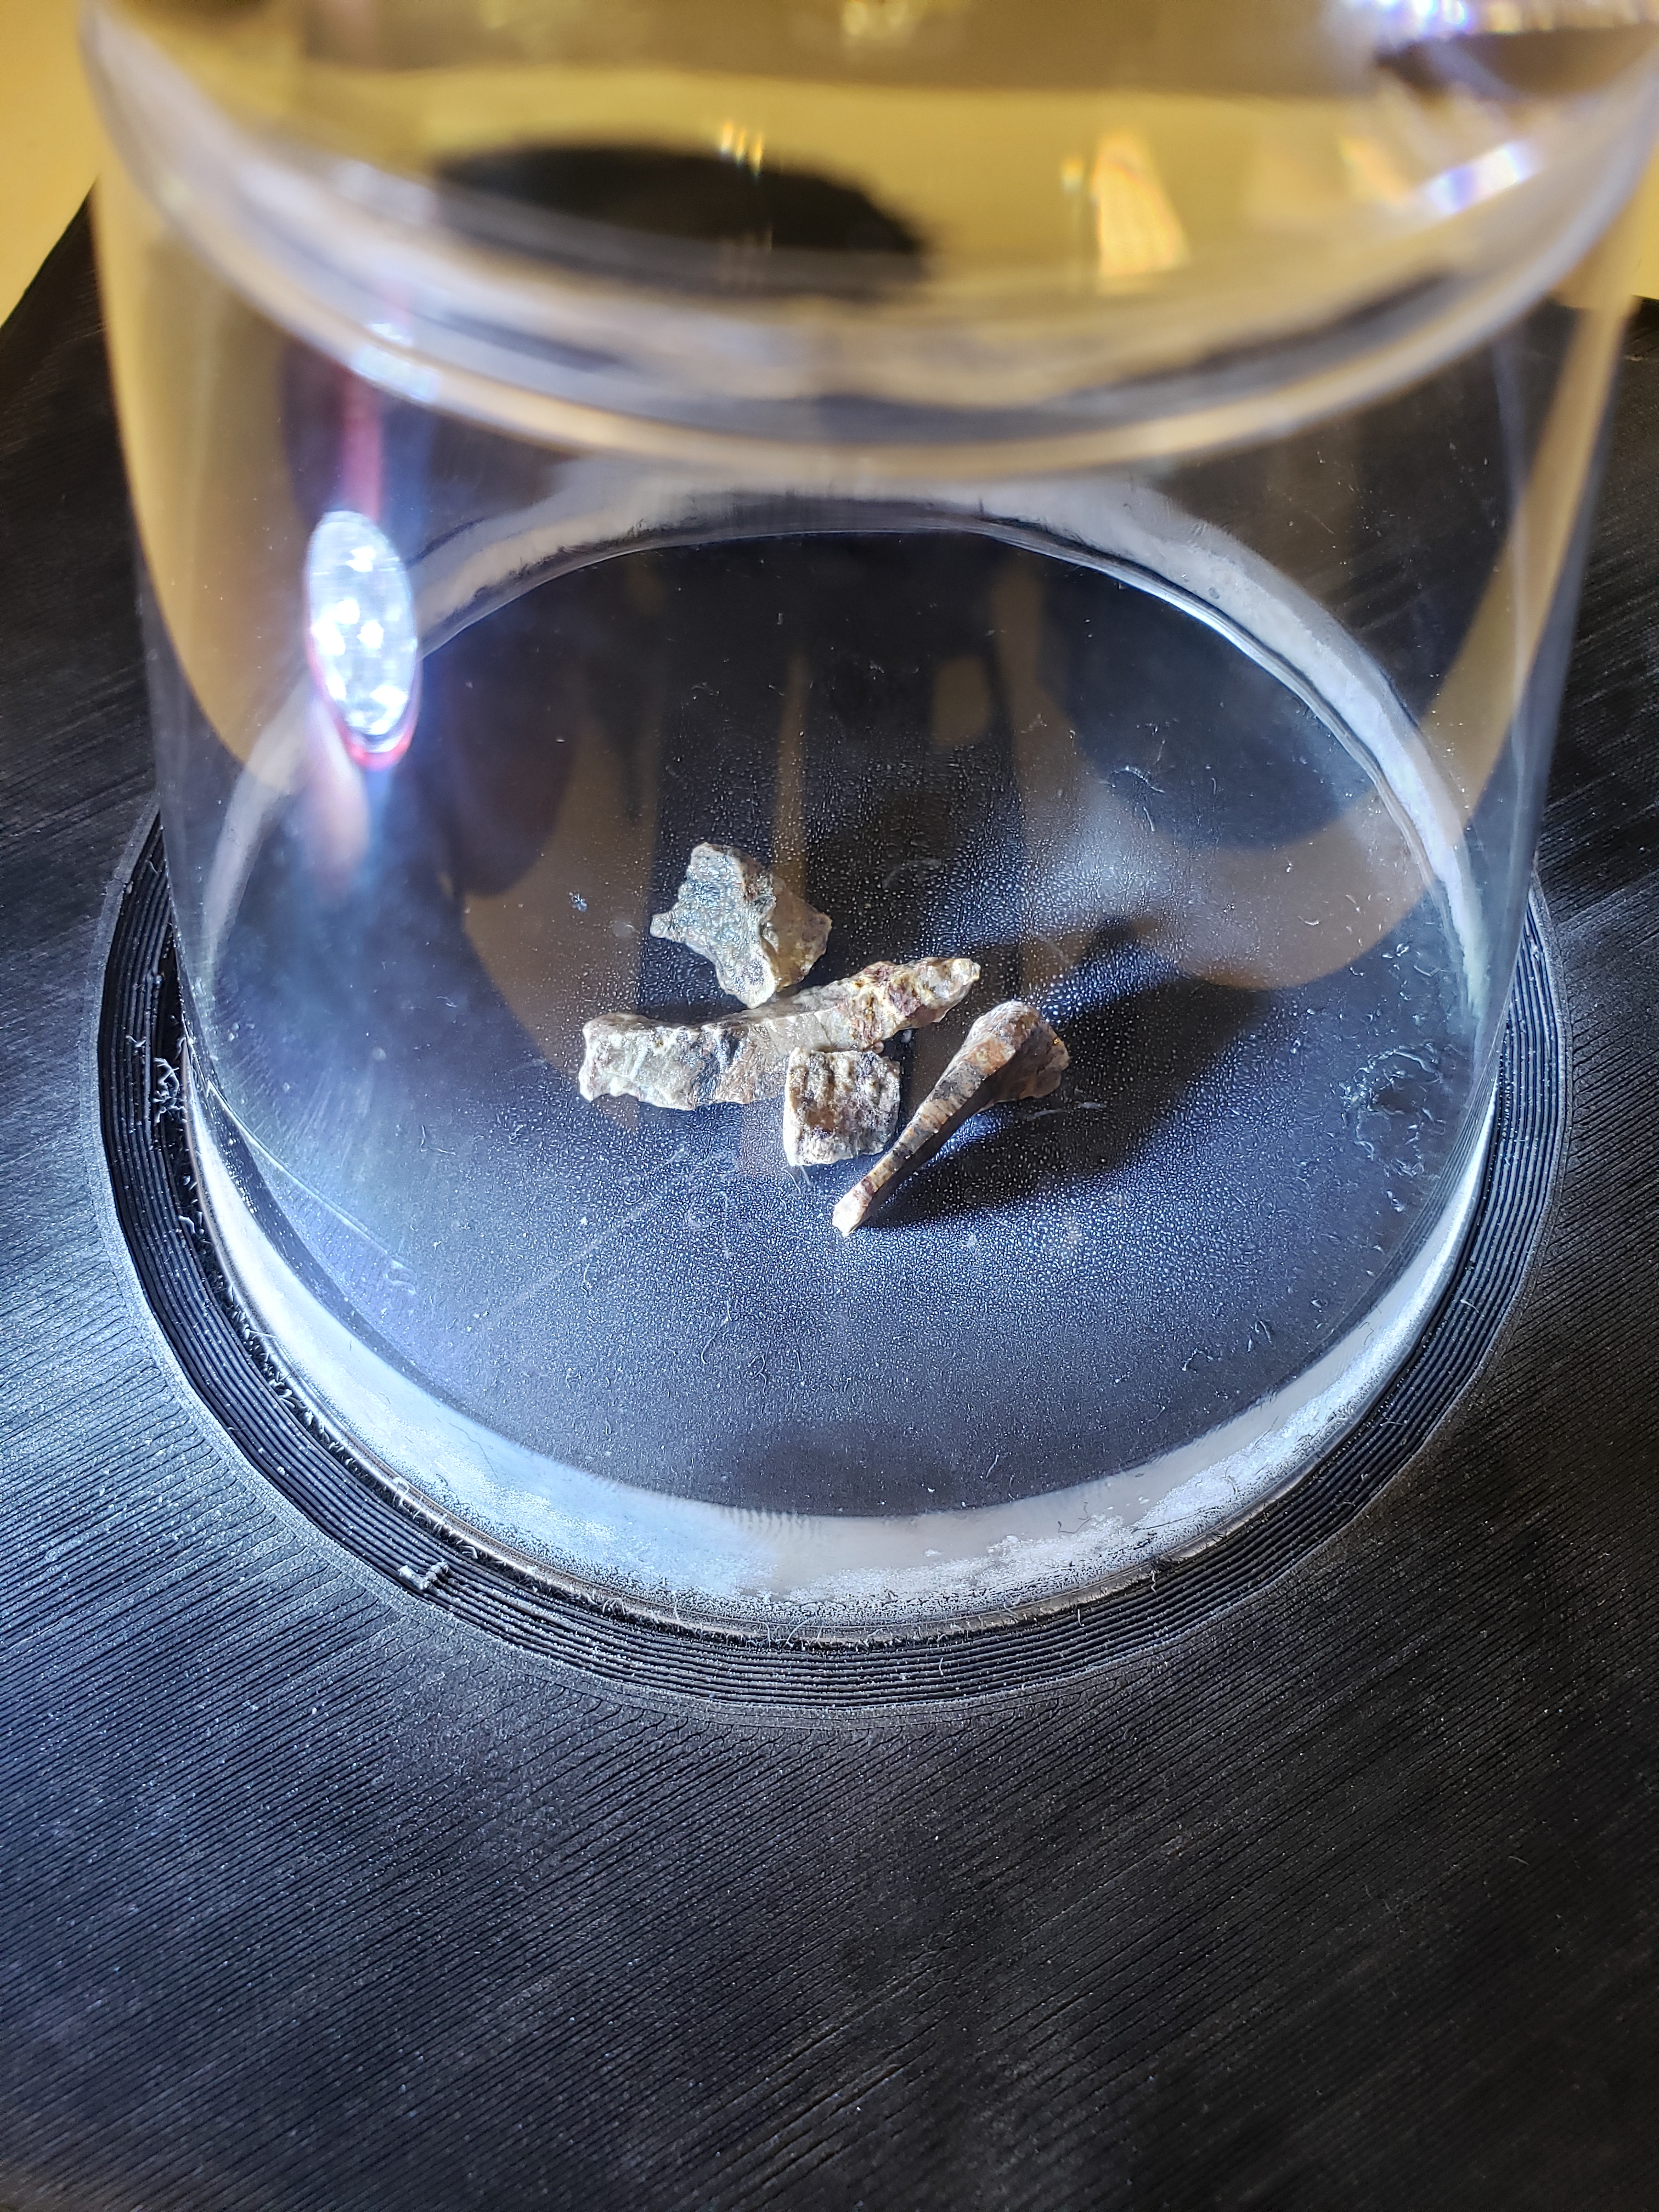
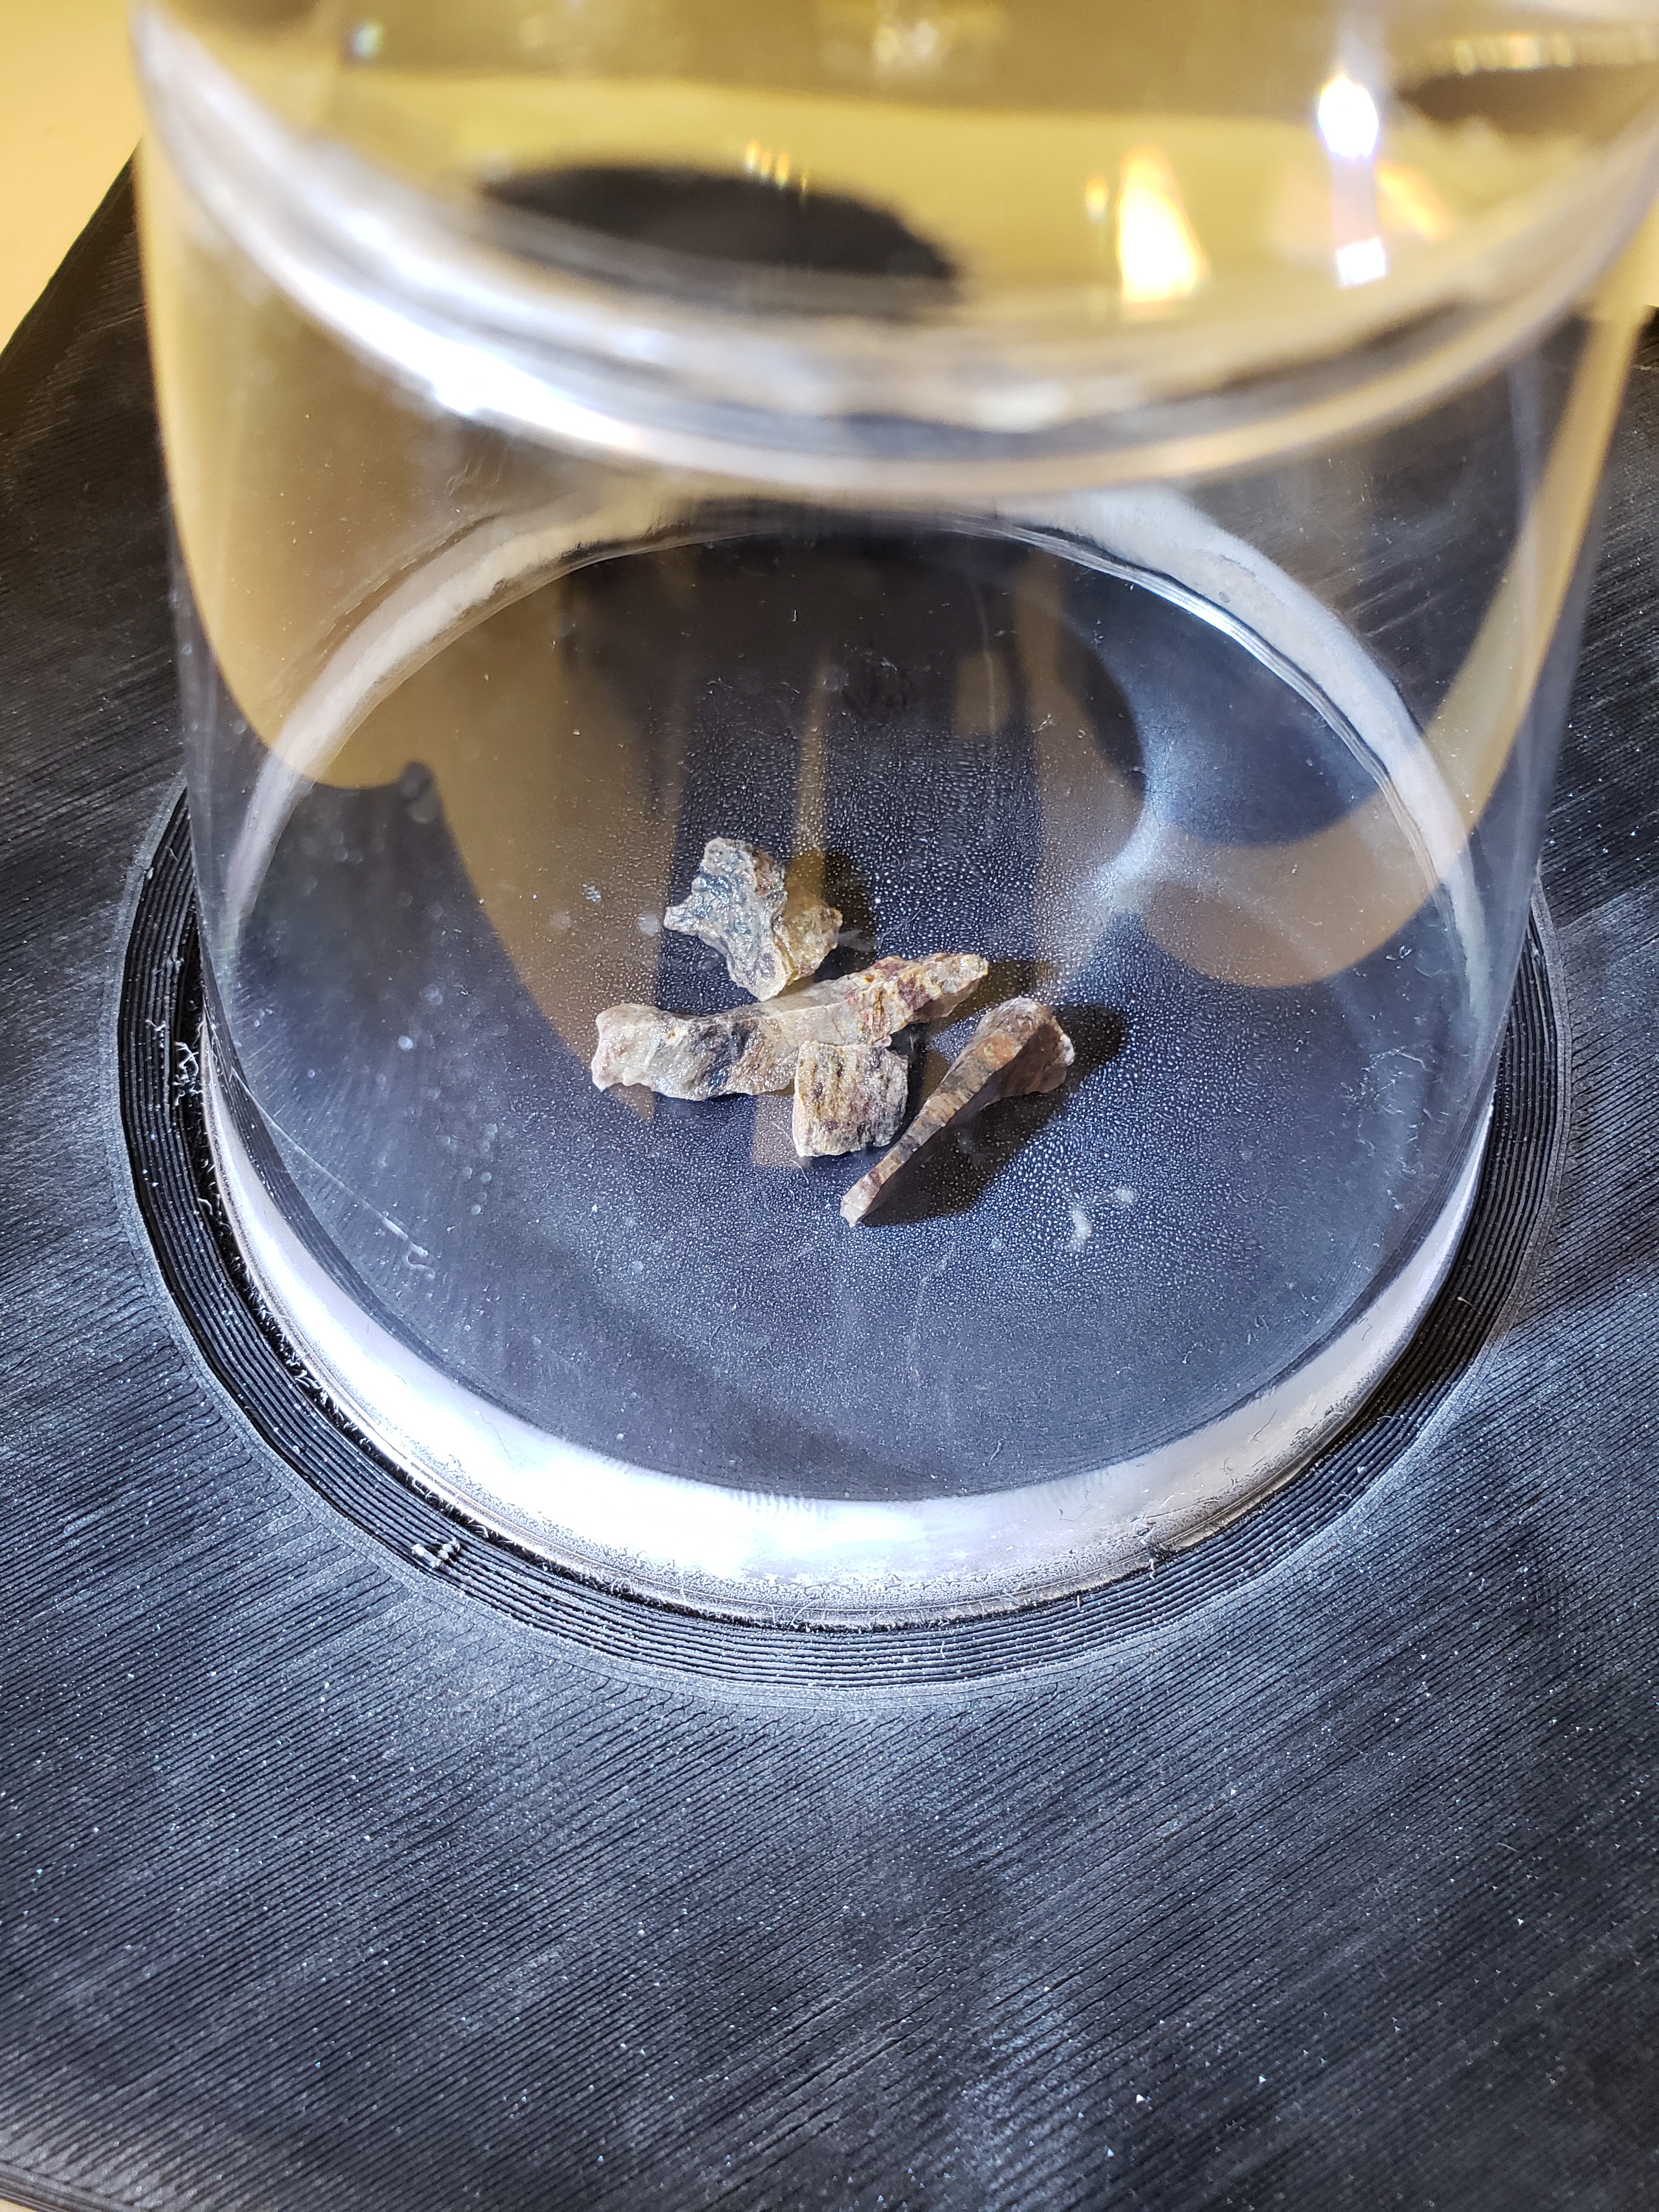
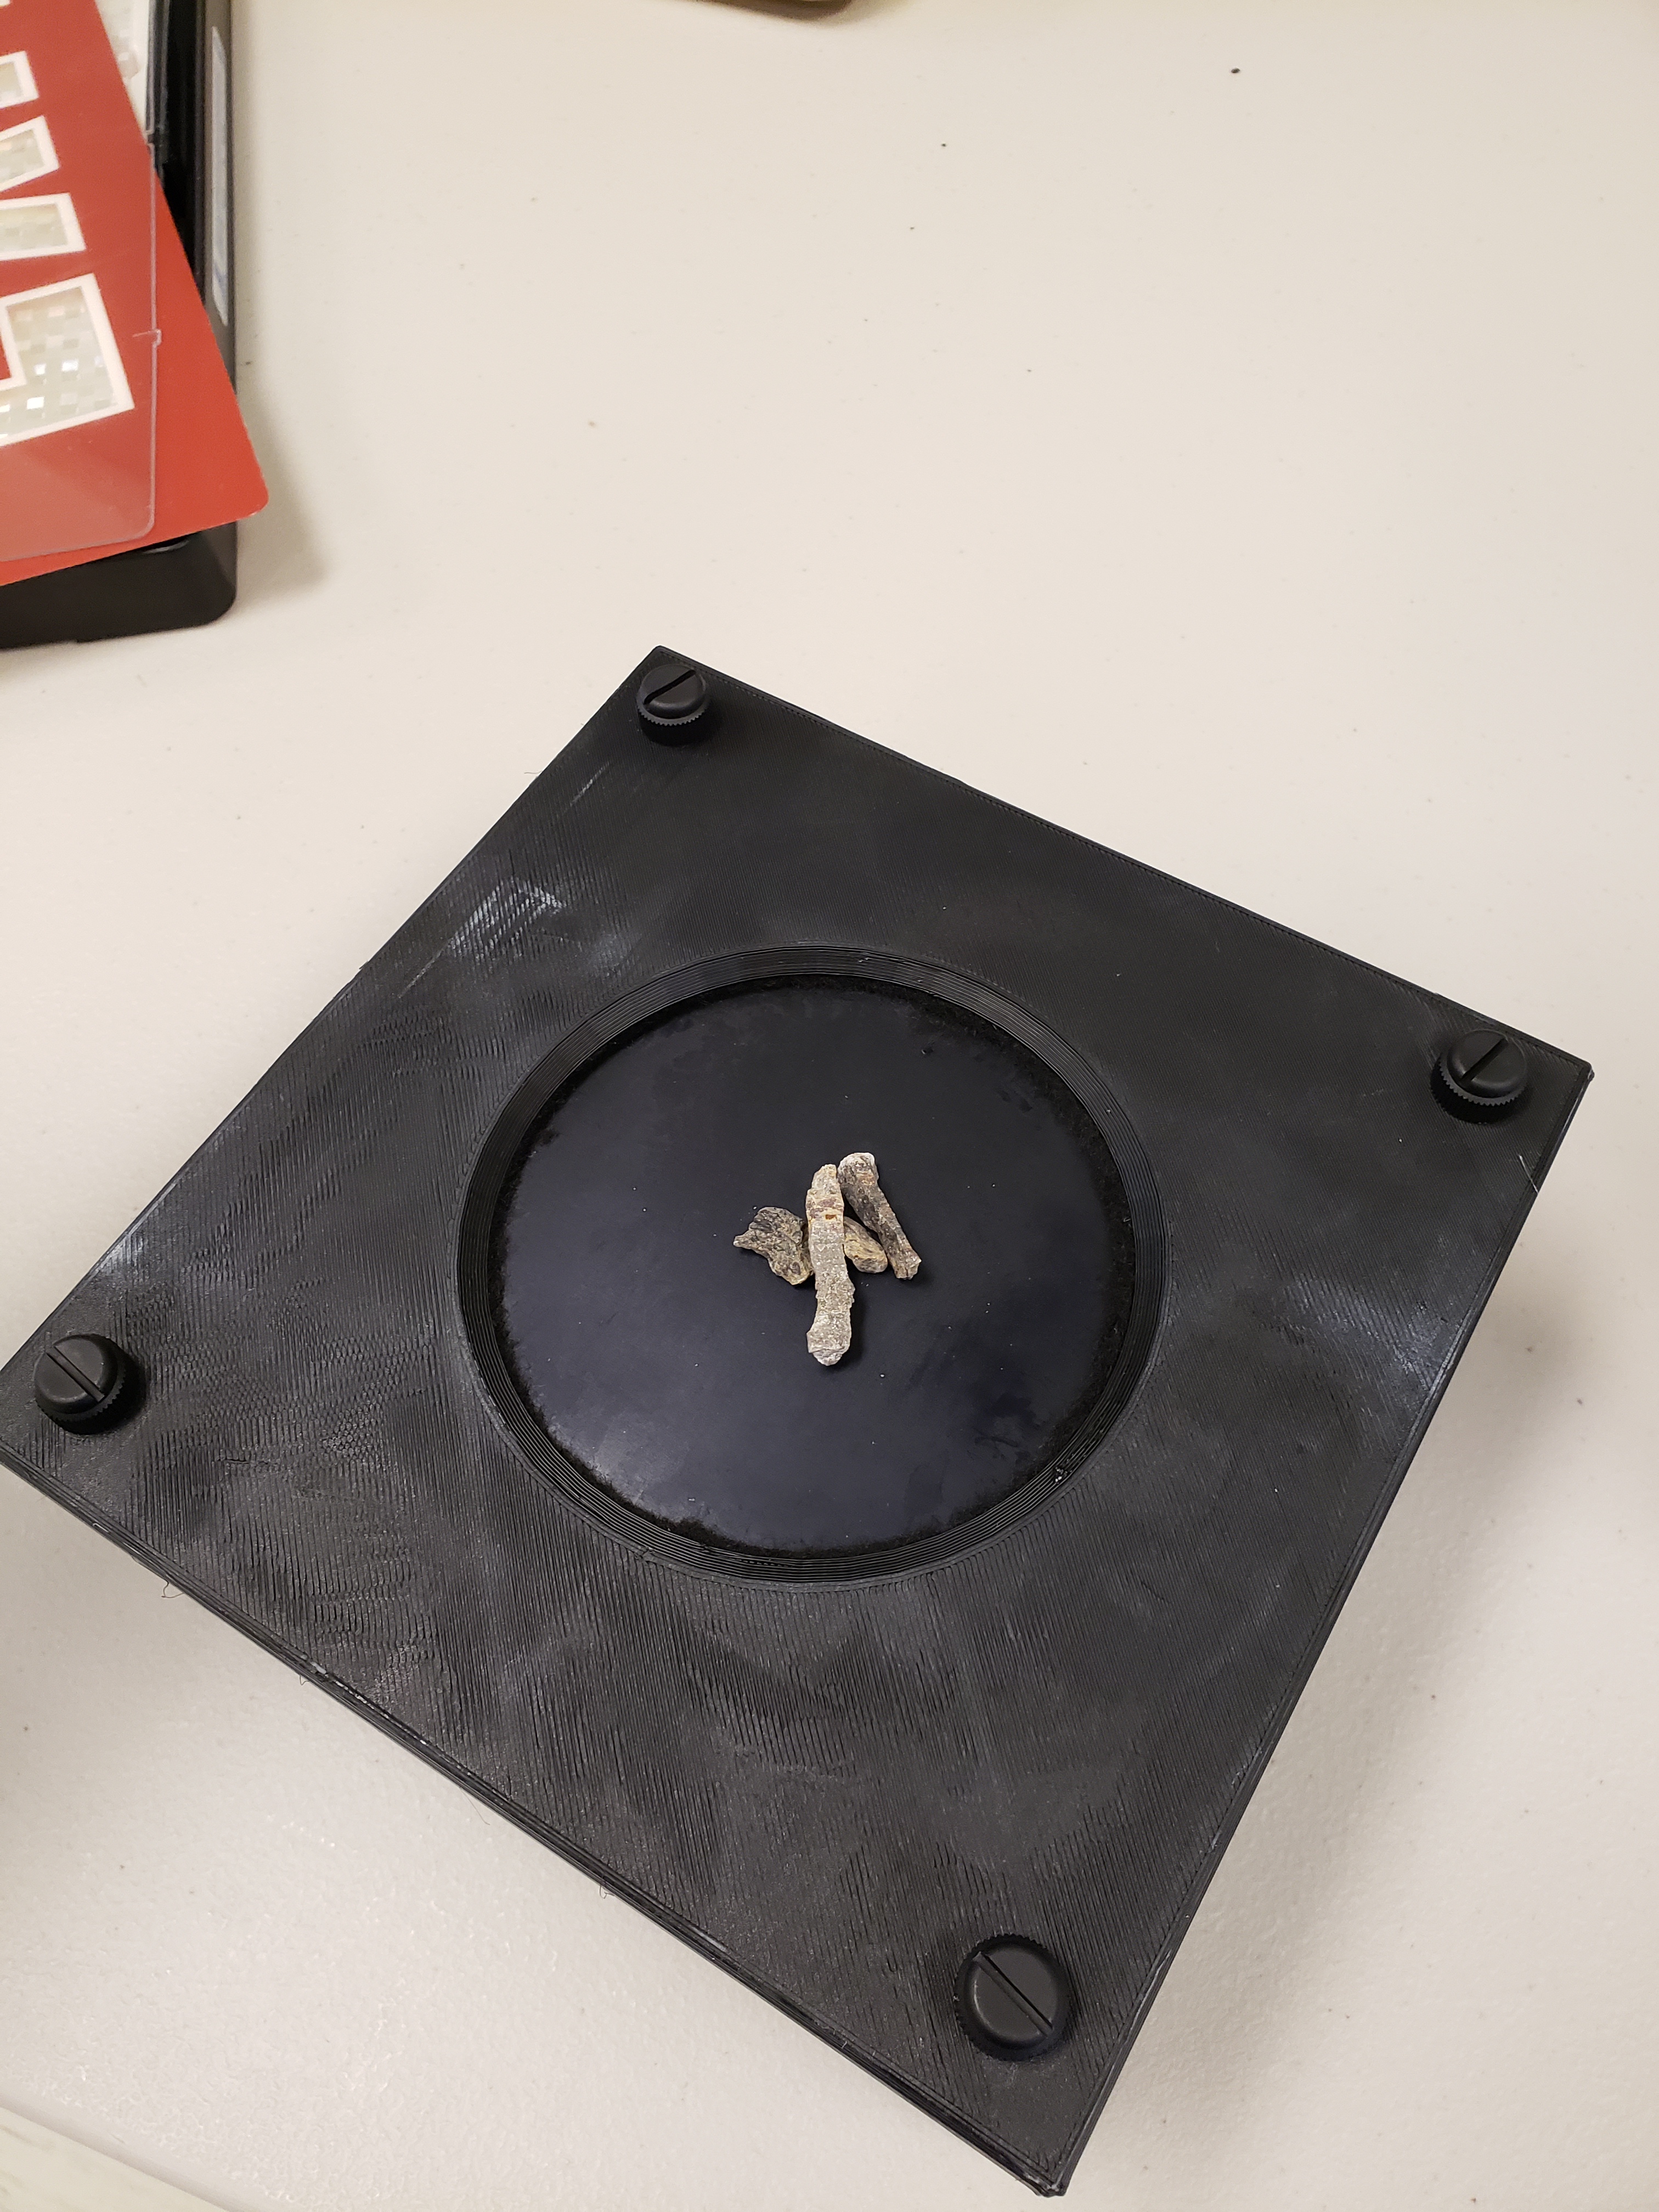
I used some fragments of Uranium Ore as the particle sources. It was convenient to buy a rock on ebay and smash it (with appropriate precautions against dust inhalation and such of course)
Originally I had planned on using Americium-241 smoke detector sources bought on ebay for 2$ a pop, making little mounts for them, etc.
But the rocks worked so much better. I suspect it has to do with lower energy alpha emissions. as the occasional radon decay.
The kids enjoyed handling the mostly harmless pebbles like an instant death hazmat item. Made them feel like grown up scientists I think, with the gloves and face masks etc.
Before placing the source, its important to wipe away any frozen water that has appeared. You want to clean it off, place the source, and put the viewing chamber on as quickly as possible to avoid humidity freezing onto the plate.
Final Setup
Simply place the chamber over the source onto the plate.
Then add warm (but not hot) water to the cup.
The water will aid in evaporating the Isopropyl Alcohol.
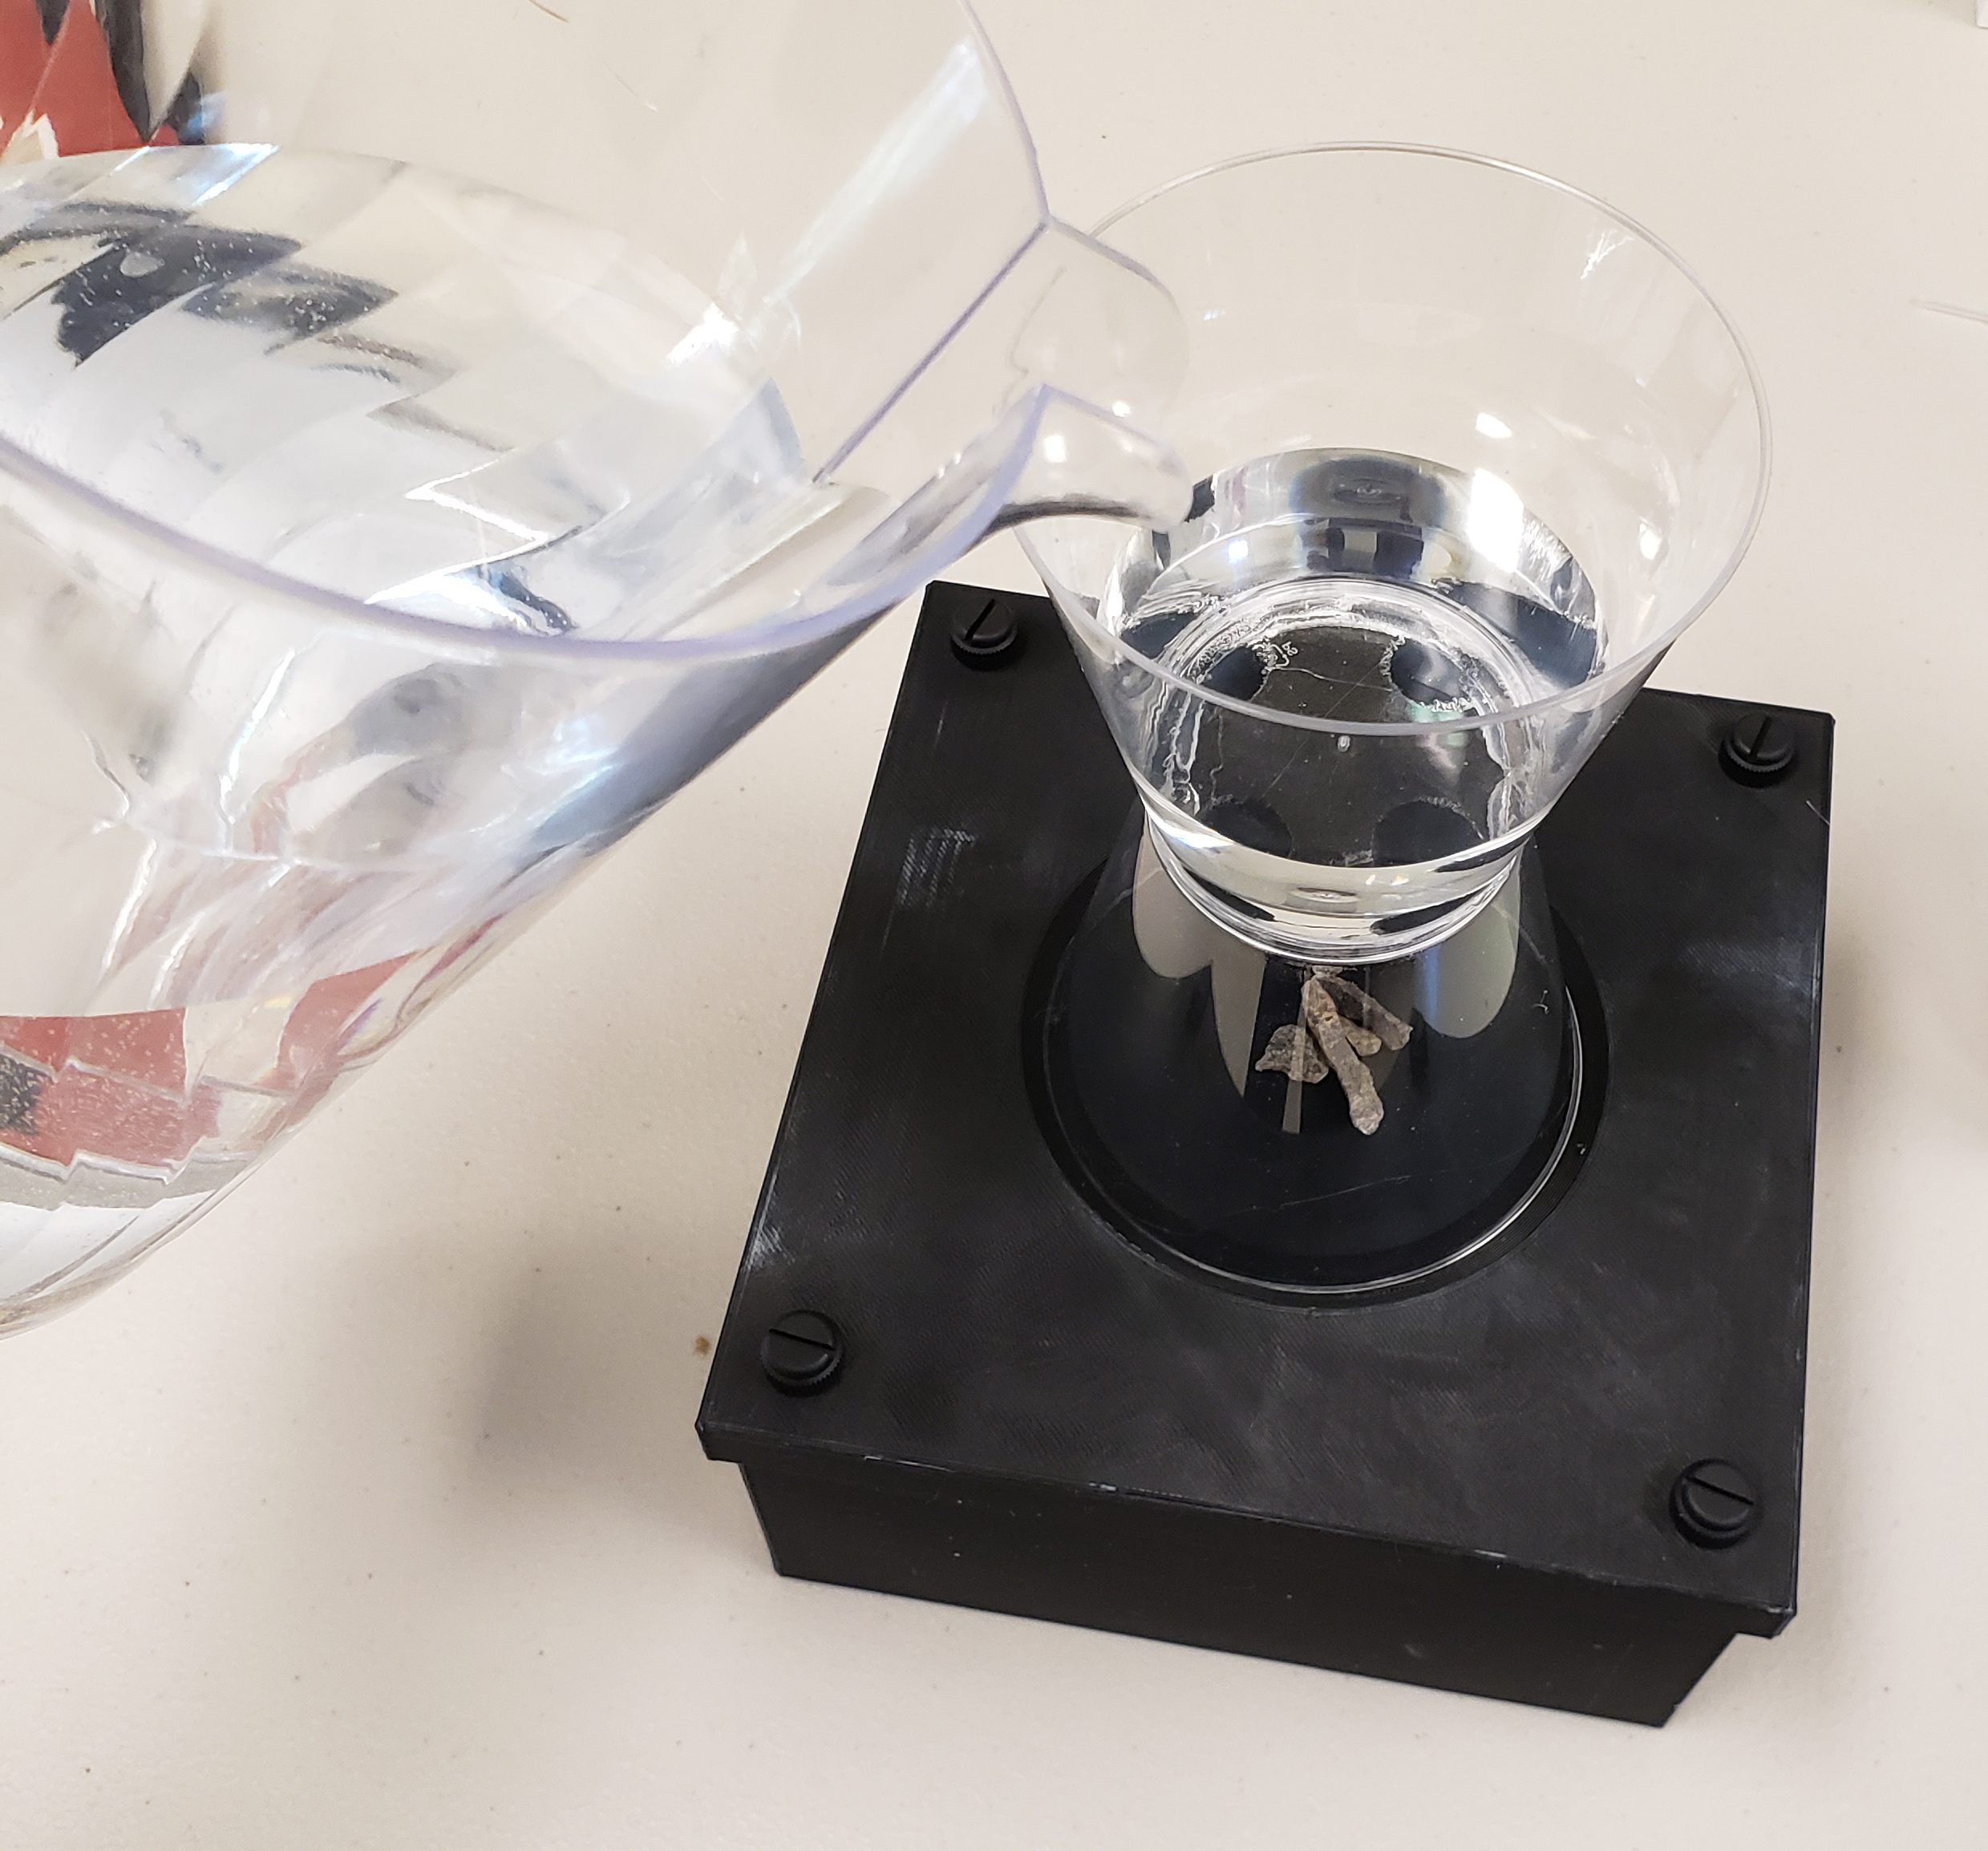
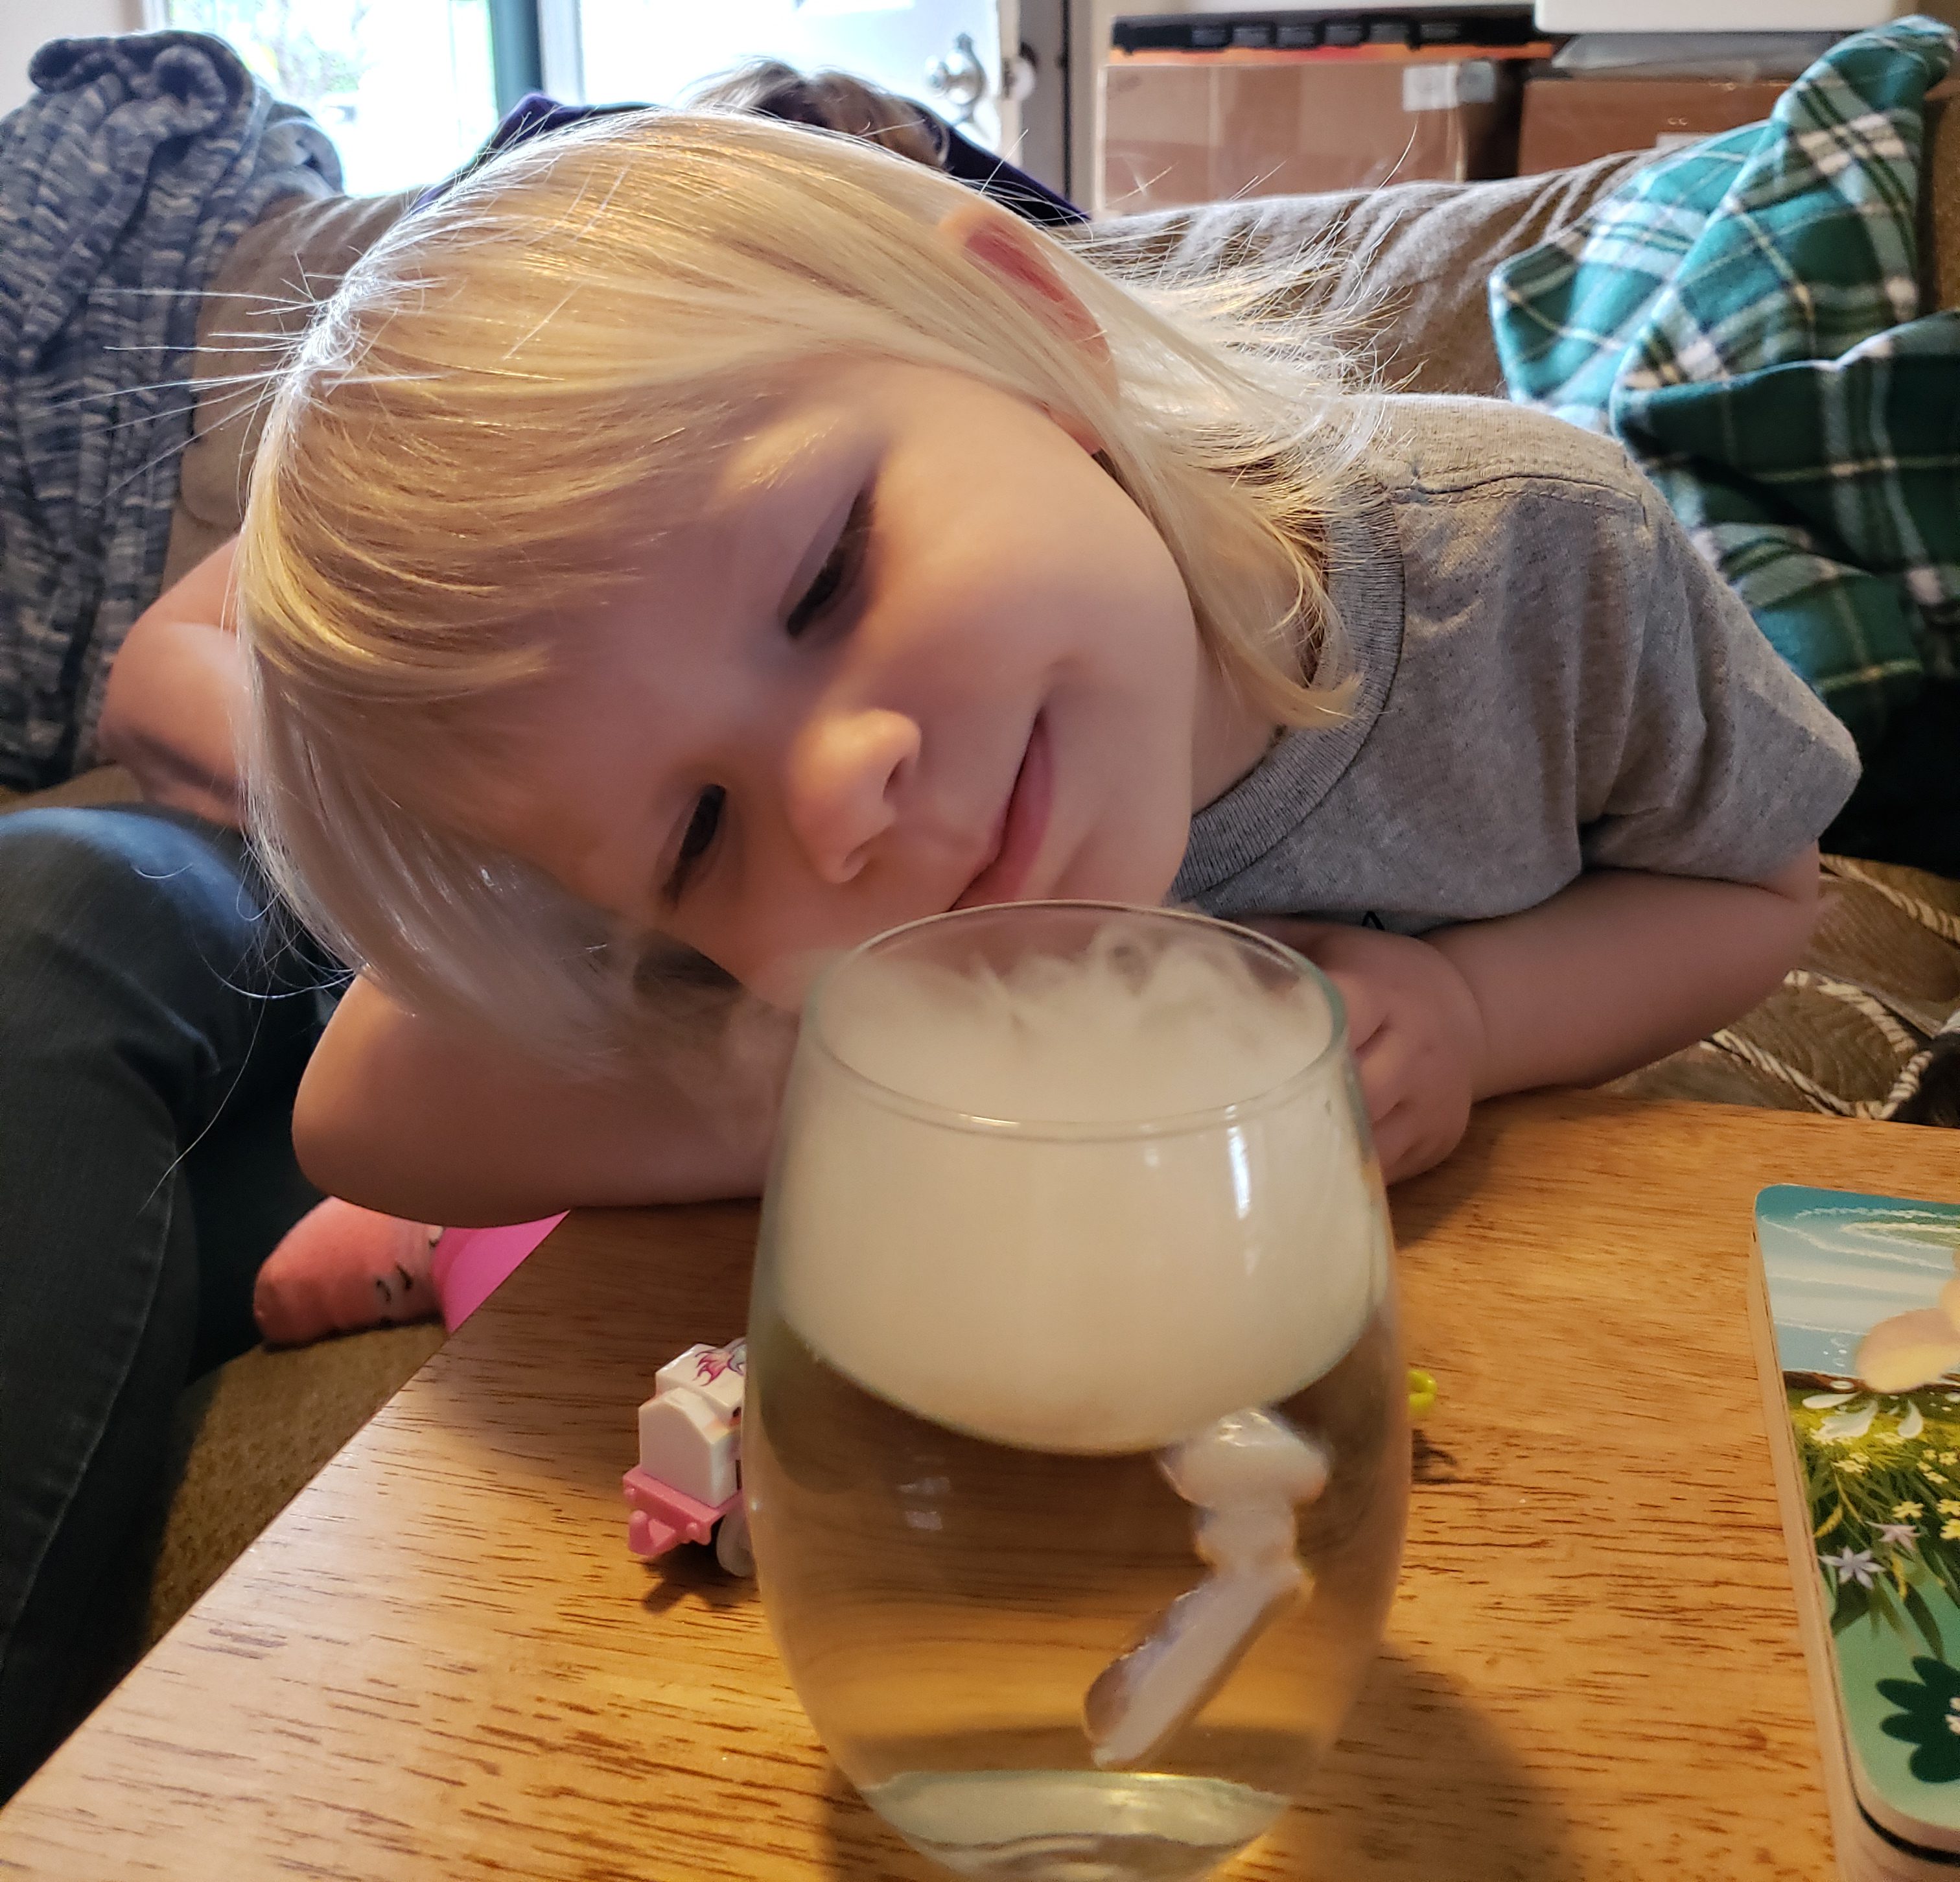
Wait a few min for the supersaturated layer to form, and shortly their after particle trails will be visible. The cool down and stabilization process should take less than 5 minutes.
I did a lot of testing of the device to make sure that it was highly repeatable.
Although, i don’t think it would work very well outside on a super hot day. Better to stay inside in an air conditioned environment.

External Electric Field
I haven’t quantified why in some instances an external field is needed and in others its not. But its easy for kids to get this set up.
Just rub a balloon on your head and hold it near the chamber. The static charge on the balloon is enough to have a positive effect on the particle trails, increasing viability, etc.
Particle Trails
I recognize these arn’t the best pictures. I took them at the end of the day just before we were trying to clean up. I was supposed to run the lab again this year, but the coronavirus got the event cancelled.
Getting dry ice where I live requires about 1.5 hours worth for driving round trip, which is prohibitively annoying.
Needless to say, I will update the pics eventually, and add video.
The kids at STEM-ing where enthralled with the particle trails. The room grew quiet as they all spent about 10 min just watching their cloud chambers.
And yes, I got 10 of them to work simultaneously 4 times in one day. These cloud chambers are highly repeatable, and very convenient to set up. So take that naysayers.
These pictures and videos will be replaced by higher quality ones eventually
This video came from initial testing during development, you will not the cup the chamber is made from has fancy features which make its optical clarity crap. (They didn’t have the crystal clear ones at the store when I was testing. ordered from amazon)
